How to Install Peel and Stick Floor Tile for $100
The links in this post may be affiliate links. That means that if you click them and make a purchase, this site makes a commission. It will have no impact on the price you pay or the experience of your purchase.
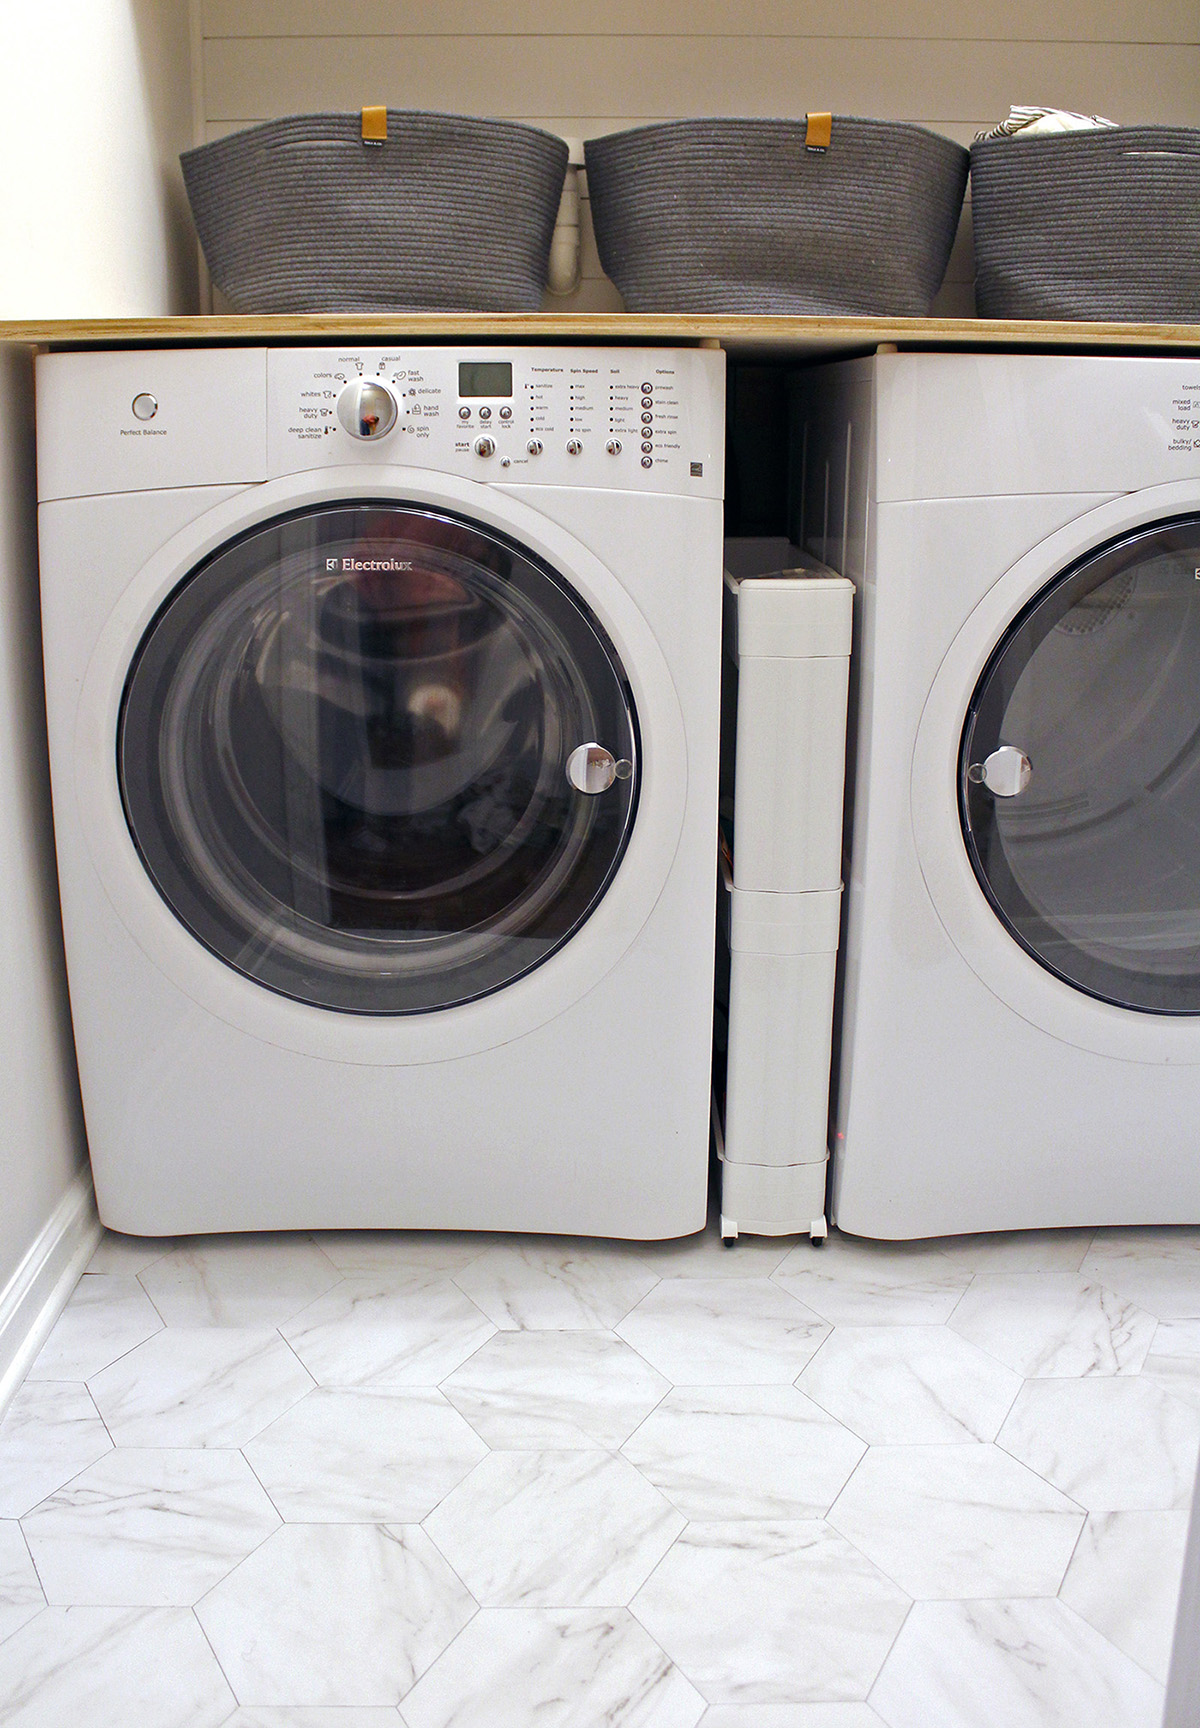
When I first considered updating the floors in my laundry room, I searched for a budget-friendly and user-friendly solution. I came across peel and stick floor tiles. These tiles offer a quick and easy way to give your floors a fresh new look without the need for professional installation or heavy tools.
The process of installing peel and stick floor tiles can be done by almost anyone, even those with little to no DIY skills. They come in a variety of designs and materials, allowing you the freedom to choose a style that suits the decor of the room you’re updating.
There’s also the benefit of being able to switch the tiles out if you decide you want a new look down the road.
This article contains affiliate links, please read my full disclosure here.
Advantages of Peel and Stick Floor Tile
One of the primary reasons I chose peel and stick floor tile for my home is its affordability. Compared to other flooring options, it is a cost-effective solution that doesn’t compromise on style.
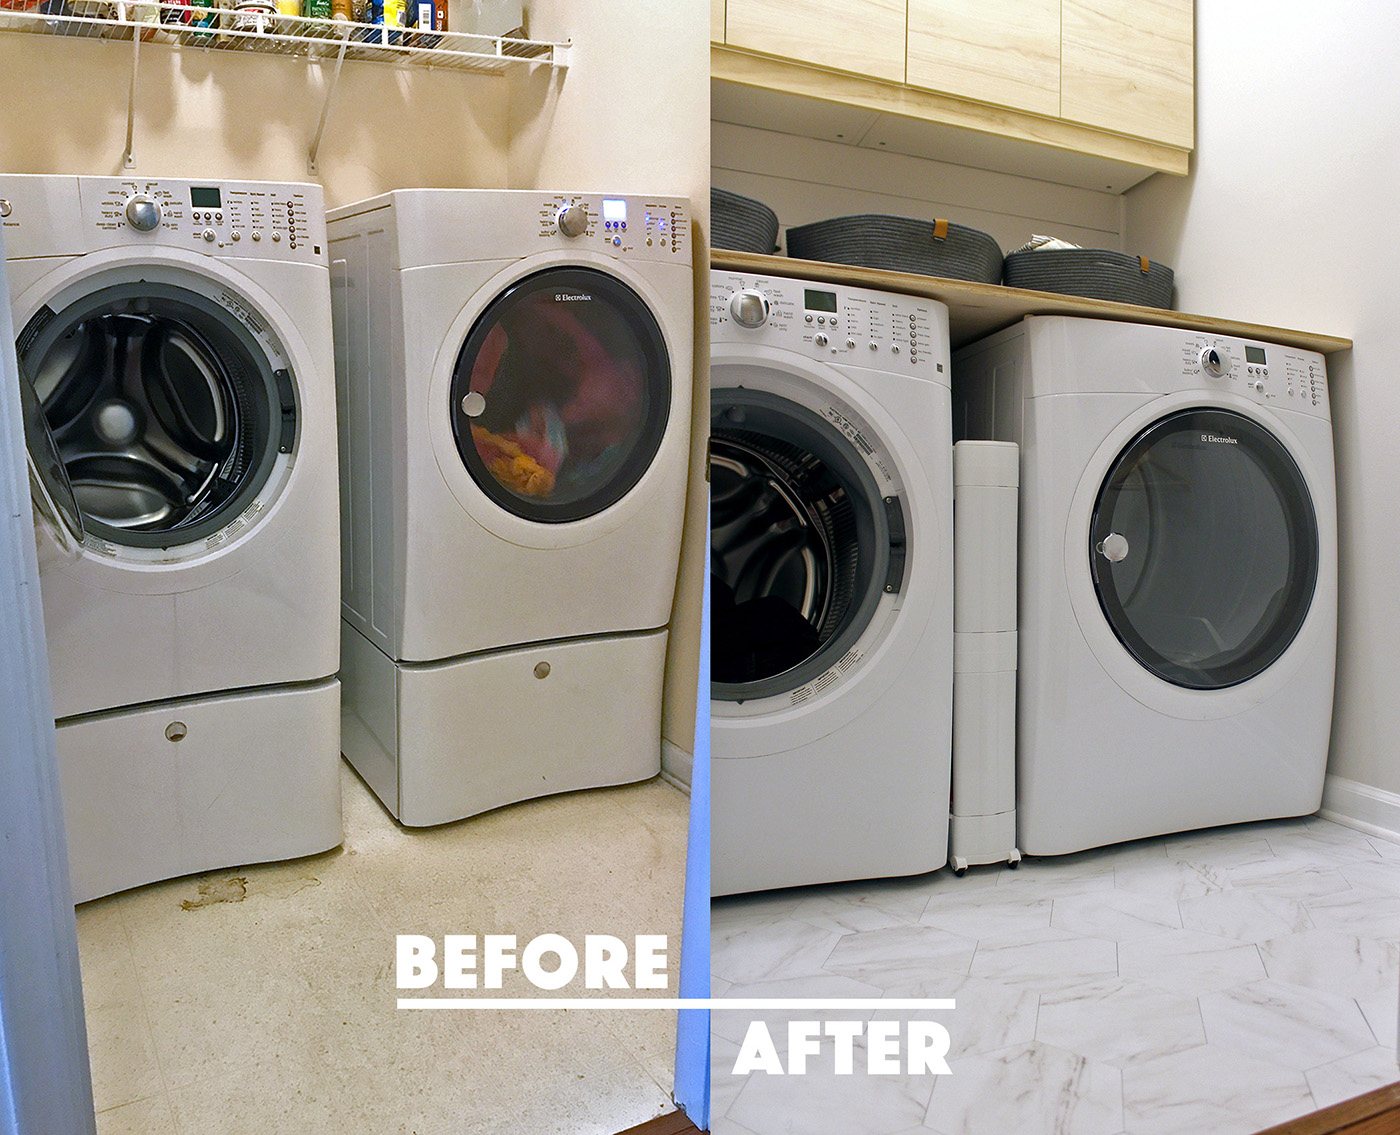
When I covered our laundry room’s linoleum floor with hexagon peel and stick tiles, the install cost under $100 to complete.
Some key advantages of peel and stick floor tile:
- Affordable: Budget-friendly alternative to more expensive flooring options
- Easy to install: Simple, DIY-friendly installation process
- Durable: Resistant to daily wear and tear, water damage, and easy maintenance

Did you know there are many types of vinyl flooring? Please review tile instructions before installing! Flooring should acclimate for 48 hours in your home before installation (65° – 85°F).
Approved subfloors include concrete, plywood, and vinyl flooring. You can find the specific directions for this floor tile here under the category “peel and stick.”
Peel and Stick Tile Floor Install
Supplies
Grecian Marble Peel and Stick Vinyl Tiles 83 at .99 each ($82.17 total)
Paint Scraper $3.98
Hand Sander (owned, similar here)
Vacuum & Mop
Hand weights
White Paper & Pencil
Utility Knife
Straight edge (we used a metal ruler)
Primed Quarter Round Moulding $12.72
Flooring Project Total: $98.87
Step 1: Prep the subfloor
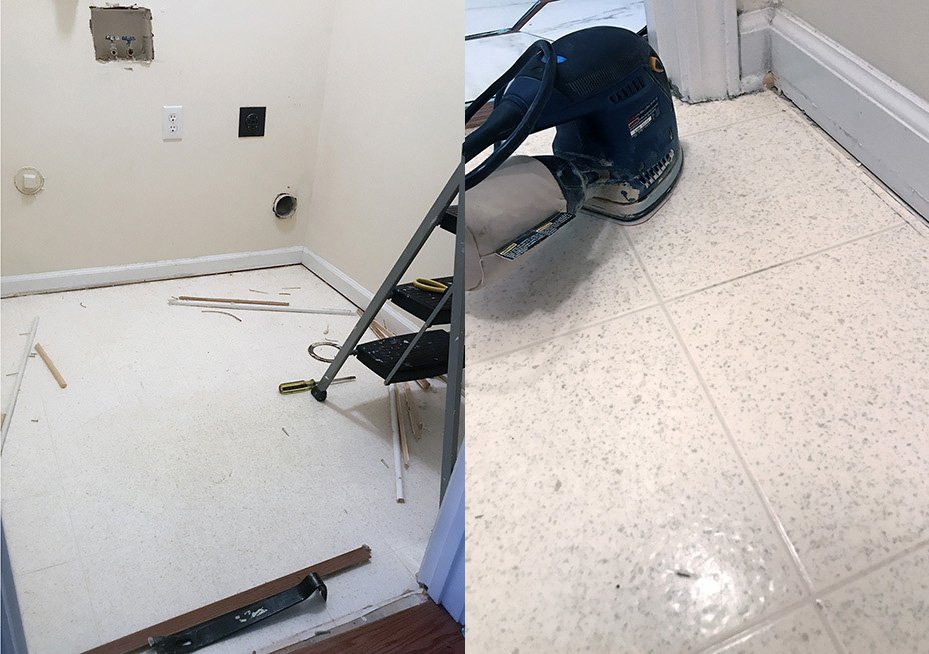
Clear the floor of appliances, remove the quarter round trim, scrape up any remaining glue residue from the trim, and sand the floor with a hand sander to rough it up a bit.
You may be able to save your quarter round trim and reuse it. Ours broke when we removed it so later we replaced it with new quarter round trim (step 8).
Step 2: Mop and vacuum the subfloor if it is vinyl or linoleum
Mop and vacuum the floor a few times until it is really clean. Otherwise dust and dirt could impact the peel & stick tile glue’s ability to adhere to the old flooring.

Step 3: Lay the peel and stick tile
Before laying your new vinyl tile, store it in your home for 48 hours to acclimate the material. Decide the general layout of your tile before sticking them down.
We started toward the center of the room after roughly mapping how to get ½ hexagons on the left and right side and avoiding needing to cut really skinny tile pieces.
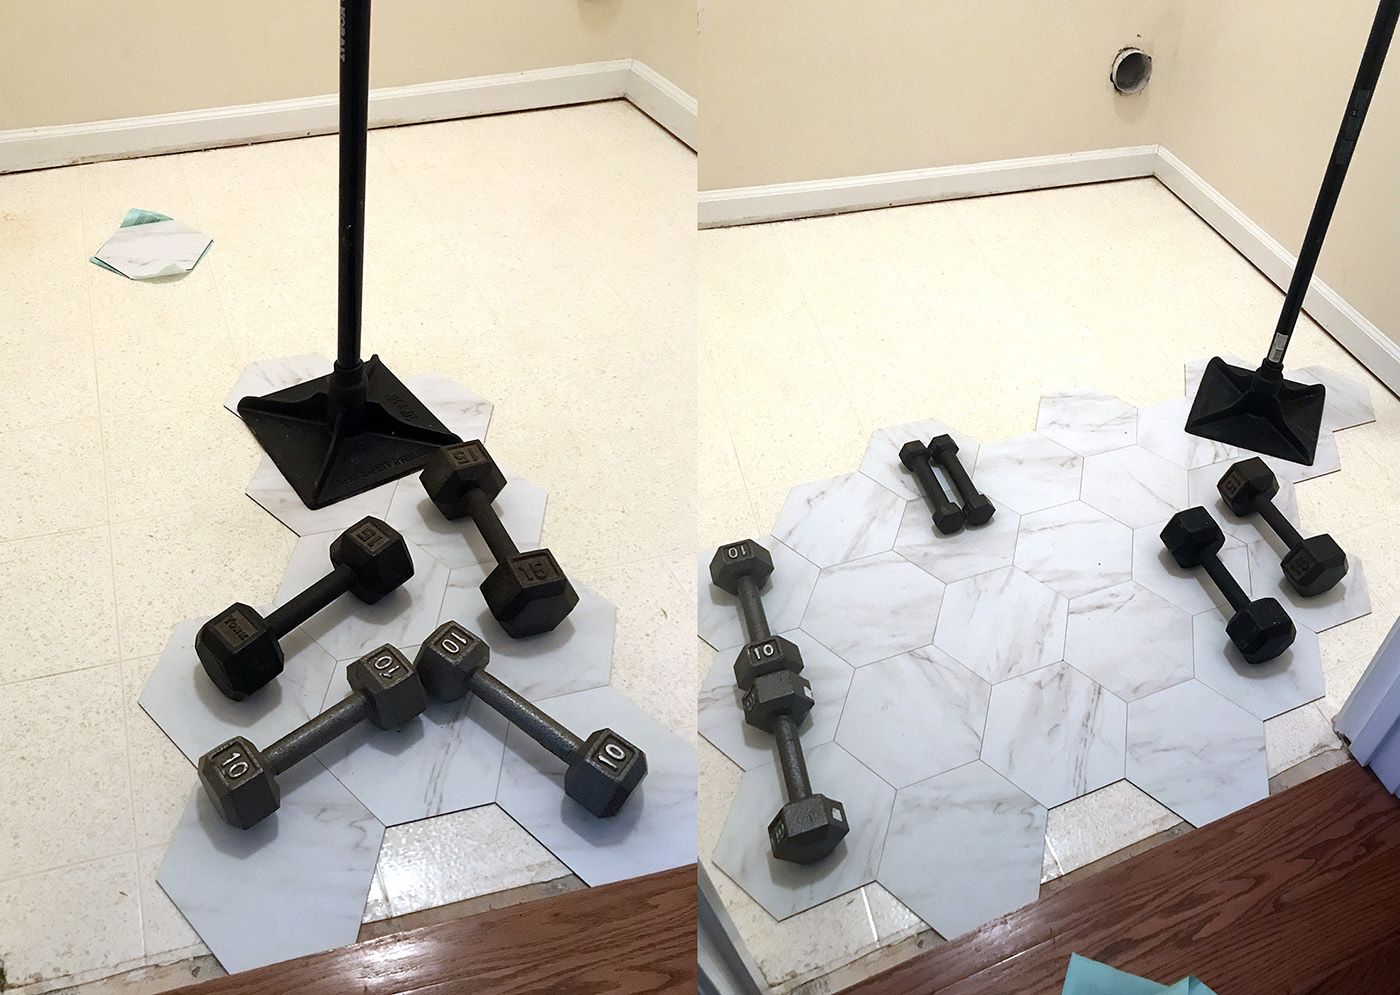
We placed a weight on each tile for 30 minutes after removing the blue paper and adhering the tile to the linoleum. This helped the glue set and adhere to the floor. You can add grout between the tiles, but we opted not to.
Step 4: Cover the Room With Tiles
Lay tiles on floor with weights until the room is covered, leave open spots near the wall for last.

Step 5: Make a Template
Near the wall we used a blank sheet of paper and a pencil to rub down the tile shape and define what size tile needed to be to cut and install flush against the wall.

Step 6: Cut the Tile
Use the paper template and a pencil to define where to cut your tile. Then use a utility knife to score the tile (do this step on a scrap piece of wood to avoid cutting the other tiles) then bend the tile to break/snap.
Online tile directions mention, “for intricate cuts around door jambs or moldings, heat the plank slightly with a hair dryer to allow the plank to be fully cut with the razor knife.”
Repeat Step 6
Repeat this step until you finish laying tile around the edge of the room with weights. Per manufacturer directions, “after installation, roll the complete floor in length and width with a 100 lb. 3-section steel roller.”
We skipped this because of the small size of the room, but if you have a larger room using a steel roller would be a good idea.

Step 7: Trim and Caulk
Reattach quarter round trim moulding, and you may need to caulk with a bit of white caulk around the door. We don’t have pictures of this step but if you have any questions email me or leave a comment and I’ll give more details!
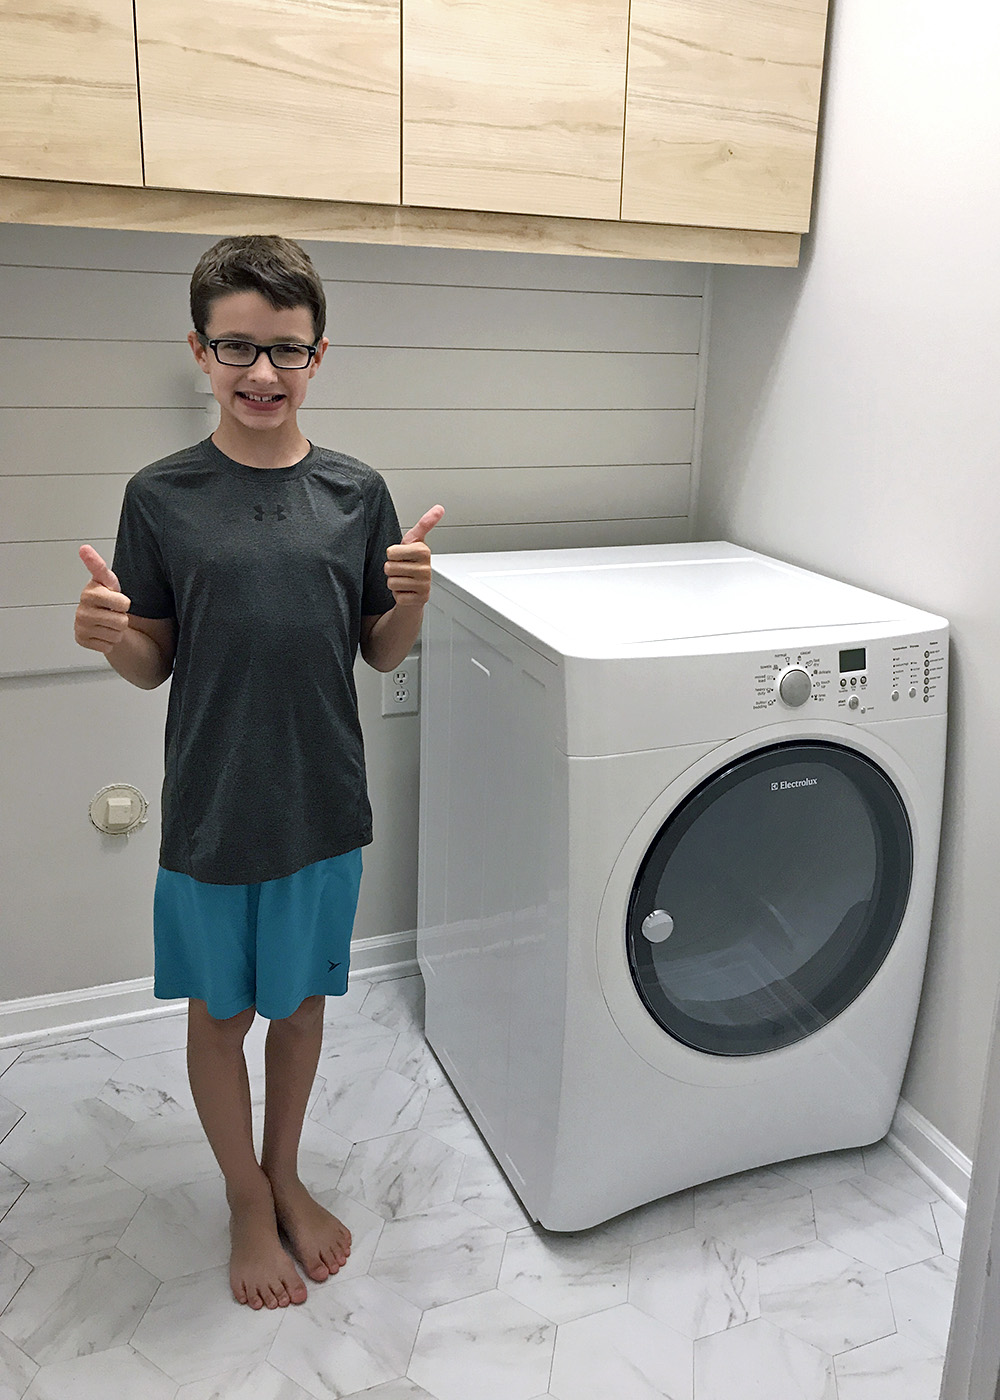
We gave our new floor a few days before reinstalling the appliances (meanwhile I painted the laundry room walls). The tiles have remained secure. I did notice some black dirt that turned out to be leftover glue on the tile. It wiped up with some soap and water.

Additional Questions About the Vinyl Tile Floor:
Is the vinyl tile groutable? Yes! There are directions in the tile box for grouting, and at our local store they had an example of the tile with grout. Since we were on a time crunch to get our appliances reinstalled, we went with the simpler route of installing hexagon tiles side by side with no grout.
How easy was the install? We give the install a ⅘ for ease of install. Being patient and giving the glue time to set so that the tiles don’t shift is the hardest part.

How affordable are vinyl tiles? Very affordable! A 5/5 for budget friendliness. These marble vinyl tiles were .99 per tile. I purchased 3 boxes (90 tiles) and ended up returning 7. In total we spent $82.17 on the tile material.
Are the tiles easy to clean? The tiles have a slight texture/matte finish to them. I like that they aren’t slick, but it does take more effort to scrub than expected. They are easy to vacuum & sweep! I give them a ⅗ for ease of cleaning.

In total the flooring project cost under $100 to complete. We were able to cover our linoleum floor with new hexagon vinyl tiles, giving the room a fresh modern look. The cost and ease of install made this project a win!
Pin this post for later:





where did you get these beautiful tiles from? The link unfortunately does not work
Thank you for letting me know about the link! I will double check that. I purchased the tiles in store from Lowe’s.
Hi! We’re considering installing these tiles in our bathroom—this blog post was so informative and your laundry room looks beautiful! How have the tiles held up? Since these are very budget friendly (yay!) I was curious how they’ve stood up to wear and tear.
They are great! I haven’t had any issues, and they still look new. The texture isn’t glossy so for cleaning so it might take longer to clean than a smooth tile.
That’s great to know. Thanks!
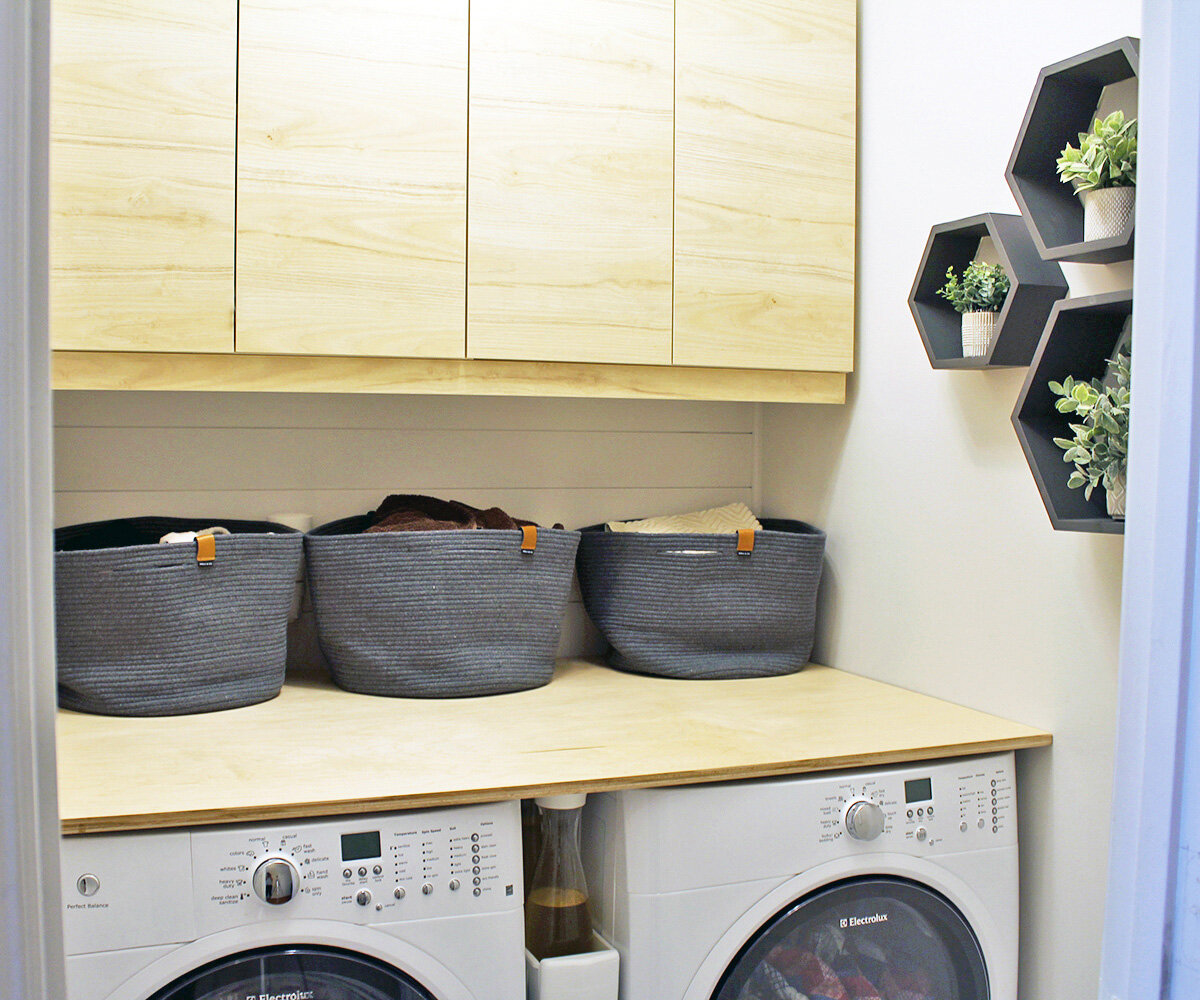
What is in between your washer and dryer?
Its a little storage cart for our detergent and supplies. More info on it here! https://www.tagandtibby.com/blog/12-ideas-for-a-small-organized-laundry-room
That turned out beautiful! Can these titles be installed on porcelain tiles?
Hi! The install guide mentions that the existing floor should be smooth and level. You might have to modify your flooring to be smooth first. https://www.stainmaster.com/vinyl/buyers-guide/installation
I love the way it turned out! What color did you choose for the walls? Thanks !
Thank you! The walls are SW Eider White
Hi what color pint did you use on the walls?!?
SW Eider White