How to Make Scented Beeswax Candles
The links in this post may be affiliate links. That means that if you click them and make a purchase, this site makes a commission. It will have no impact on the price you pay or the experience of your purchase.

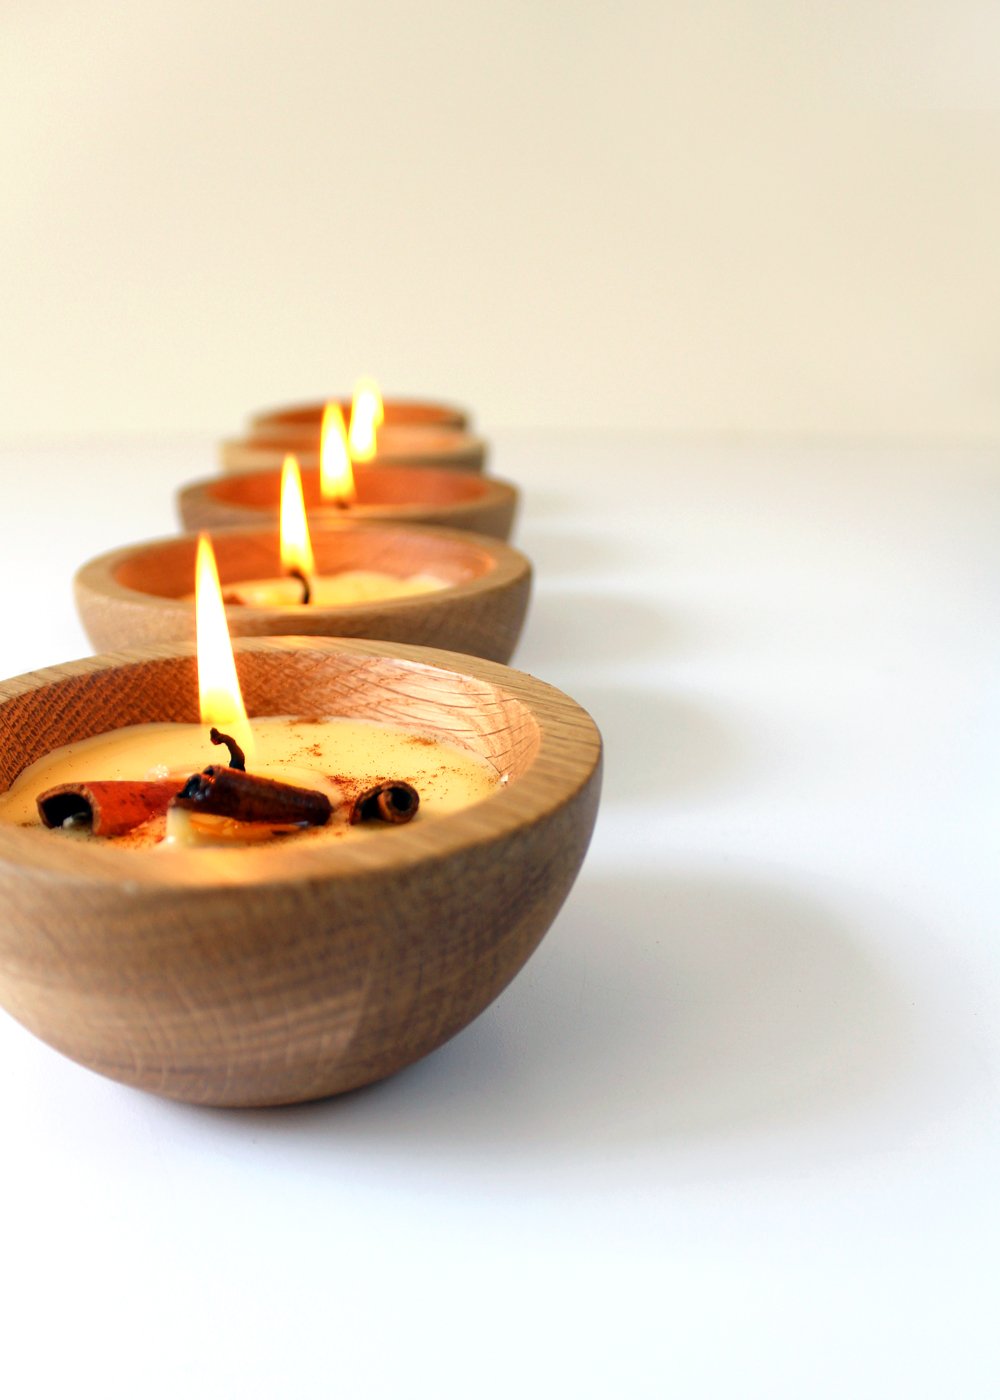
I use beeswax when making candles because it clears the air and is great for allergy sufferers. Last year I made beeswax candles in vintage jello tins. Scented beeswax candles are easy to make and are great gifts. This time I wanted to make a scented candle using essential oils.
Can you feel it? Autumn is in the air! The past few days we have felt cool morning weather, which is so refreshing! It finally feels timely to think about decorating and making some fall-ish recipes. And this cinnamon& clove scented candle is the perfect way to begin!
Scroll down for the step-by-step picture directions of how to make scented beeswax candles!
This article contains affiliate links, please read my full disclosure here.
Step 1
Coarsely chop 4-5 pieces of cinnamon bark.

Step 2
Lay out 5 small dip bowls on a flat surface. Place 1 pre-waxed candle wick in each bowl, then wrap the extra wick around a thin pencil (this will keep the wick in place when hot beeswax mixture is poured in.)

Step 3
Lay out additional supplies:
a candy thermometer
1 1/2 cup palm oil vegetable shortening
1/2 lb beeswax
cinnamon and clove essential oil
chopped cinnamon
a double boiler (I used a glass mixing bowl in a pot of water)

Step 4
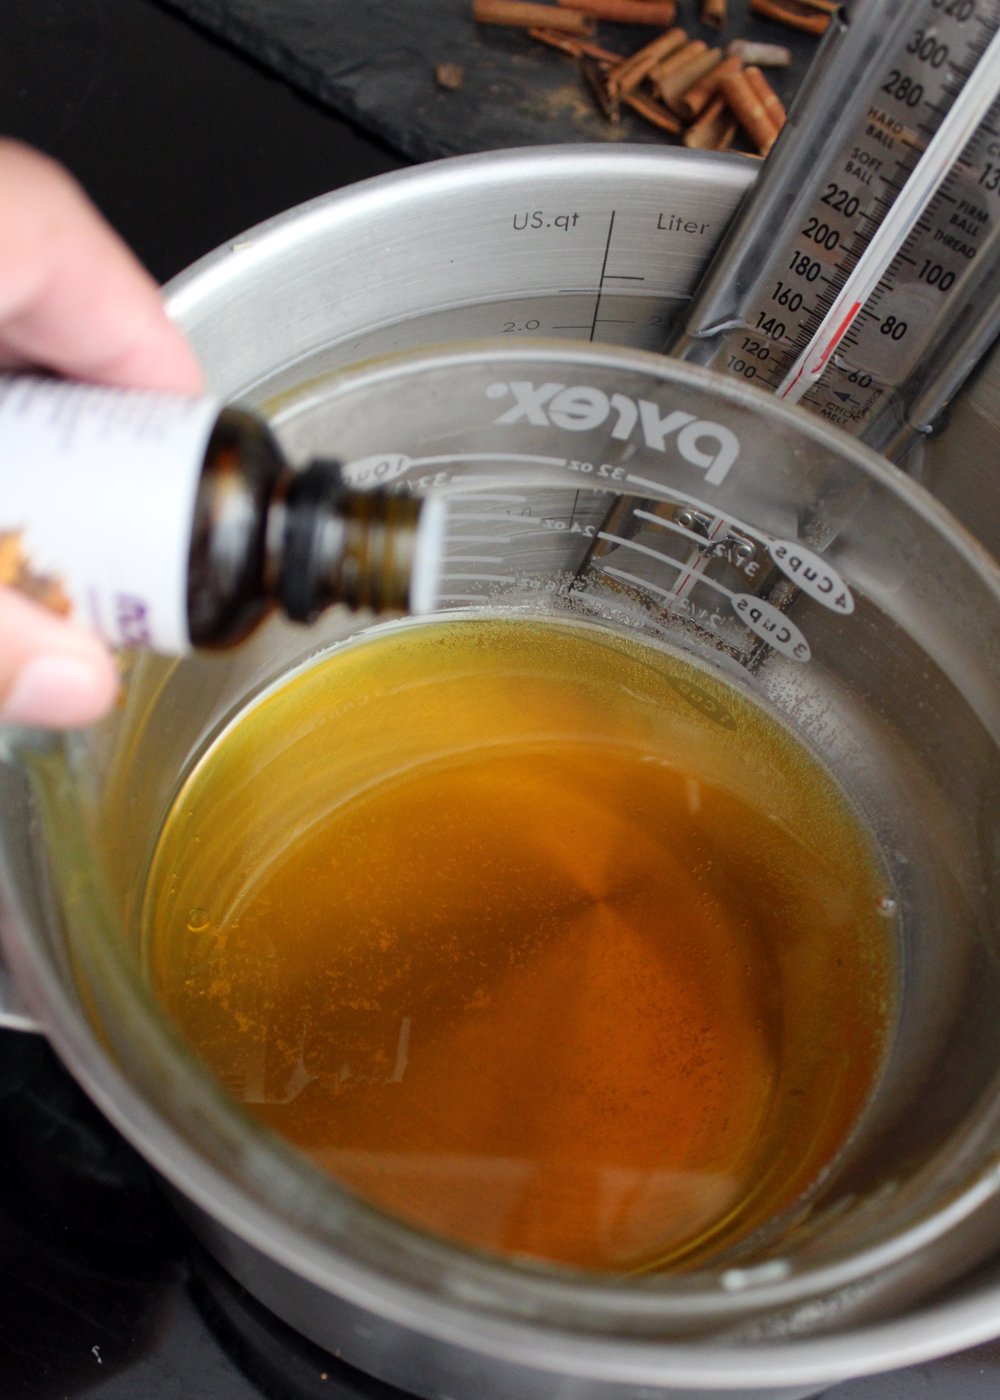
SLOWLY melt the beewsax on low-medium low heat. This could take an hour. The candy thermometer should be placed in the water and watched to stay under 180 degrees. *use a few ice cubes to cool the water if it gets too hot. Beeswax going over 180 degrees can cause discoloration.

Step 5
Wait until the beeswax is fully melted.

Step 6
Add 1 1/2 cups of vegetable palm oil shortening. This will prevent the candle from cracking as it hardens. Melt completely, stirring occasionally.

Step 7
Add 30 drops each of cinnamon and 30 drops of clove essential oils, or to your preference.
Step 8
Add 1/2 of the chopped cinnamon bark to the hot beeswax mixture.

Step 9
Evenly pour hot beeswax mixture into each bowl, about 2/3 full.

Step 10
Allow to cool for 10-15 minutes. The top layer will harden quickly.

Step 11
Once the top layer of the candle has hardened (10-15 minutes after pouring in the bowl) gently place the remaining chopped bark in wax, scattering between the 5 bowls.

Step 12 (optional)
Sprinkle a few dashes of cinnamon on each candle, then allow the candles to cool and harden for at least 24 hours.

Step 13
Once candles have hardened for at least 24 hours, cut the wick about 1/2 inch from the base.

These scented beeswax candles are the perfect way to say hello to Autumn. And the container options are endless! You can also experiment with swapping the cinnamon and clove essential oil with other popular essential oils like cedarwood or lavender. Personally, I really like how the cinnamon and clove blend with the natural honey smell that beeswax provides.
Disclaimer: Never leave a lit candle unattended and use it in a well-ventilated area.


Pin it for later!


Such a great DIY project! I can’t believe fall is almost here. I can’t wait to try this with my kids. I think they will love it.
I can’t believe it either! But I’m ready for cooler weather.
I’m so glad you like it! It would be a great family project (my kiddos helped me with the first batch)
Thanks for these instructions, Julia! I actually got the exact same bowls to do this, and I was wondering if you found them to burn evenly with this size wick? Would you do it the same way again? Thanks for the help! 🙂
Hi Mandy! I just tested one this morning for an hour and it burned pretty well–a good height on the flame with no smoking. How are yours burning? It could be an issue with wick height?
I haven’t tried yet… Just been reading lots of DIY blogs about this, and it seems tricky to get it right. If yours seem to be burning evenly, I think I’ll go with these wicks and see how it goes! Thank you! 🙂
Gotcha, yes–there are definitely experts out there on candles! These seem to be a good basic/medium size.
Great pics and post! Thanks for posting..love candles and anything scented so will be making these before the holidays as well as a dozen f your other posts..lol I need more time! Newbie blogger/hope to get to know you more! Sharing and following. fourkidsandacat.com….mary
nice to "meet" you Mary! they are surprisingly pretty easy to make, enjoy!!
What oil would be the best substitute for PALM OIL? I try not to use products with this in them, due to environmental and ethical concerns.
I have not tried it yet, but in doing some research coconut oil looks like a possible alternative.
So beautiful! Where did you find these bowls?
Thank you! They were from Target a few years ago.
How many Oz does this recipe yield?
I’d estimate around 16 oz (2 cups)
Thank you!
Your instructions were perfect. I am so excited to give these as Christmas gifts! I made them in 5oz containers so one batch made 3 candles. I am looking forward to lighting one tomorrow to see how they burn. They already smell amazing. Wish I could add a photo!
Well 7oz containers but they hold 5oz 🙂
I’m so glad they turned out well! Photos in the comments is a great idea, wish I could add that!