

DIY Dried Flower Oyster Shell Craft
The links in this post may be affiliate links. That means that if you click them and make a purchase, this site makes a commission. It will have no impact on the price you pay or the experience of your purchase.

A few years ago, I made oyster shell ornaments. And this summer, I had the idea to apply dried flowers to shells. This oyster shell craft is quick and easy, and perfect for beginner artists. The result will be a beautiful flower oyster shell keychain!

DIY Oyster Shell Craft Keychain with Dried Flowers Supply List
- Small 2”-4” Shells (Amazon oyster shells or Etsy oyster shells) note: I ordered from both vendors and found their quality to be okay for crafting
- Drill and Sandpaper (sandpaper optional)
- Mod Podge Gloss Sealer and Small Paint Brush
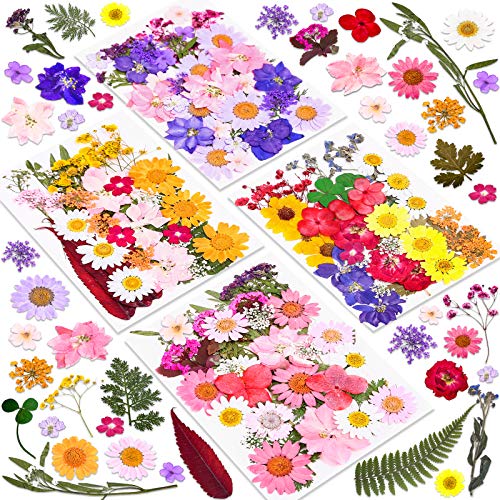
- Assorted Dried Pressed Flowers
- Fine Point Gold Metallic Sharpie
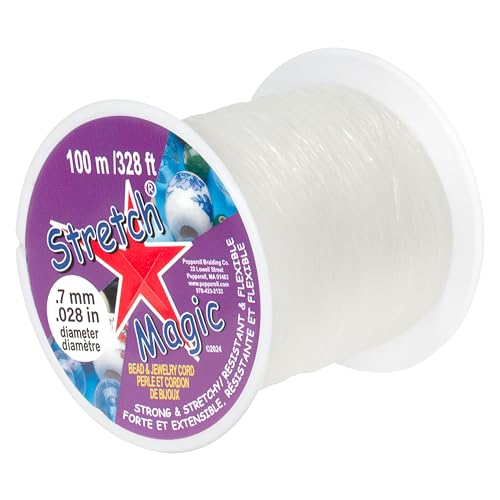
- Stretch Magic Clear Cord .7mm
- Assorted Beads (similar)
- Bead Fix Gel
- Gold Key Rings
How to Make Dried Flower Oyster Shell Keyrings
1. Drill a small hole in each shell
It is a good idea to wear noise-canceling headphones as they will make a high-pitched sound. I also recommend drilling at a thin part of the shell. If the shells have a rough edge, you can lightly sand with sandpaper.

2. Wash and dry oyster shells
There will be dust from drilling the shells and likely some leftover sand, too. Wash and dry each shell before starting the fun part of the craft project.

3. Apply Mod Podge to oyster shell
Use a paintbrush to apply a thin coat of Mod Podge Gloss Sealer to the interior of the shells.

4. Add dried pressed flowers to the shell
While the glue is wet, gently add a dried flower, then apply mod podge over the flower. Layer additional flowers if desired. Mod Podge will dry clear.

5. Draw a gold edge to the oyster shell
Use a Fine Point Gold Metallic Sharpie to trace along the edge of the shell. You can also use silver or bronze if you prefer a different color.

6. String beads
Slide Stretch Magic Clear Cord through hole in shell, then string 3 small beads of your choice (see photo for reference).

7. Attach keyring
Tie on a gold key ring and make a basic knot. Apply a dot of Bead Fix Gel (or similar jewelry glue) to secure the knot.

These keychains are easy to customize with dried flowers and beads and simple to make!

Dried Flower Oyster Shell Craft

This oyster shell craft is quick and easy, and perfect for beginner artists. The result will be a beautiful flower oyster shell keychain!
Materials
- Small 2”-4” Shells
- Mod Podge Gloss Sealer and Small Paint Brush
- Assorted Dried Pressed Flowers
- Fine Point Gold Metallic Sharpie
- Stretch Magic Clear Cord .7mm
- Assorted Beads
- Bead Fix Gel
- Gold Key Rings
Instructions
1. Drill a small hole in each shell
Drill at a thin part of the shell. If the shells have a rough edge, you can lightly sand with sandpaper.
2. Wash and dry oyster shells
Wash and dry each shell before starting the fun part of the craft project.
3. Apply Mod Podge to oyster shell
Use a paint brush to apply a thin coat of Mod Podge Gloss Sealer to the interior of the shells.
4. Add dried pressed flowers to the shell
While glue is wet, gently add a dried flower then apply mod podge over the flower. Layer additional flowers if desired. Mod Podge will dry clear.
5. Draw a gold edge to the oyster shell
Use a Fine Point Gold Metallic Sharpie to trace along the edge of the shell. You can also use silver or bronze if you prefer a different color.
6. String beads
Slide Stretch Magic Clear Cord through hole in shell, then string 3 small beads of your choice.
7. Attach keyring
Tie on a gold key ring and make a basic knot. Apply a dot of Bead Fix Gel (or similar jewelry glue) to secure the knot.
Recommended Products
As an Amazon Associate and member of other affiliate programs, I earn from qualifying purchases.
-
 Stretch Magic Bead & Jewelry Cord
 -
Key Rings for Keychain, Car Keys, Dog Tag Ring, Crafts, Golden, 12Pics
-
Sharpie - Fine Point Metallic Permanent Markers - Silver/Gold/Bronze (1-Pack of 3)
-
140 Pcs Dried Pressed Flowers for Resin, Real Pressed Flowers
-
Mod Podge Gloss Waterbase Sealer, Glue (16-Ounce), CS11202 Finish, 16 oz
-
Oyster Shells, Collected and Packaged for Arts and Crafts


I originally designed this craft for the Haven Conference in July 2023. The feedback was positive! It was a relaxing flower art project for people to complete.

Excited that I have leftover supplies to make more dried flower crafts in the future. Leave a comment if you are interested in more DIY oyster shell craft ideas!


