Refresh a Dated French Door with Paint
The links in this post may be affiliate links. That means that if you click them and make a purchase, this site makes a commission. It will have no impact on the price you pay or the experience of your purchase.
IMAGE
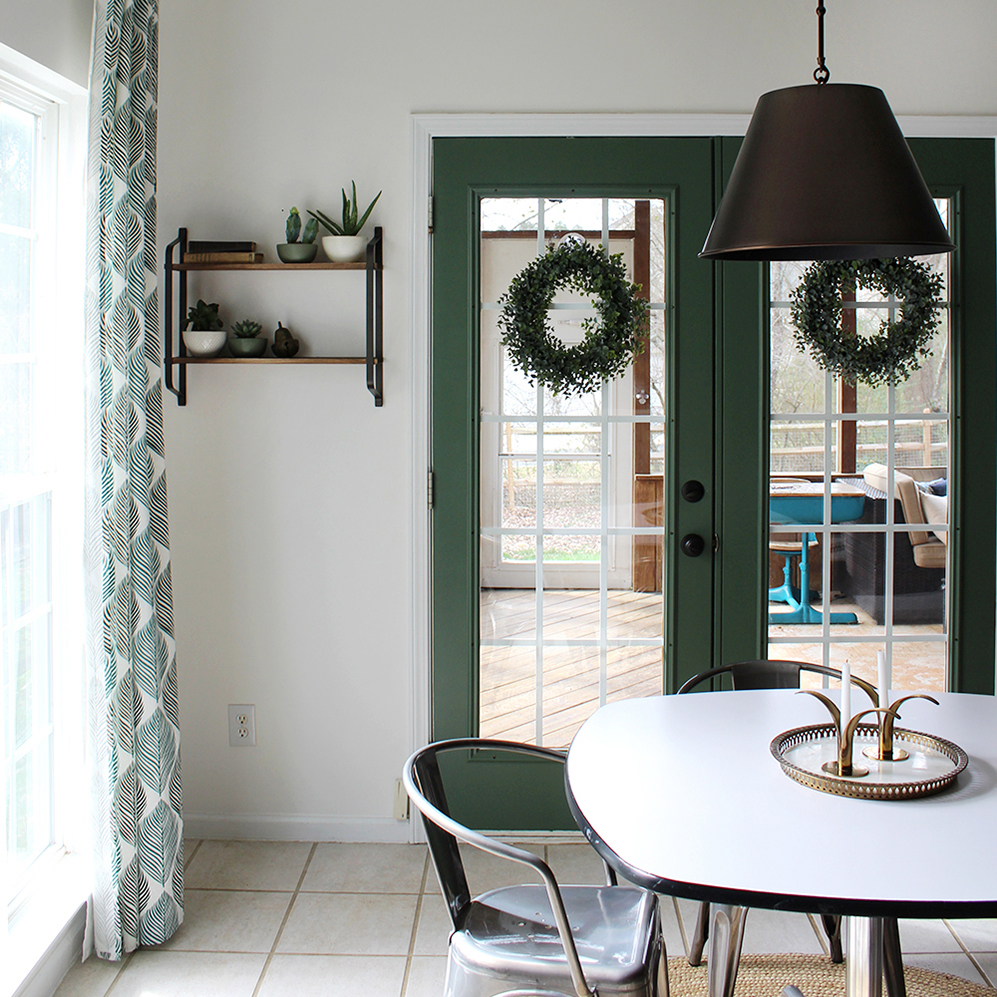
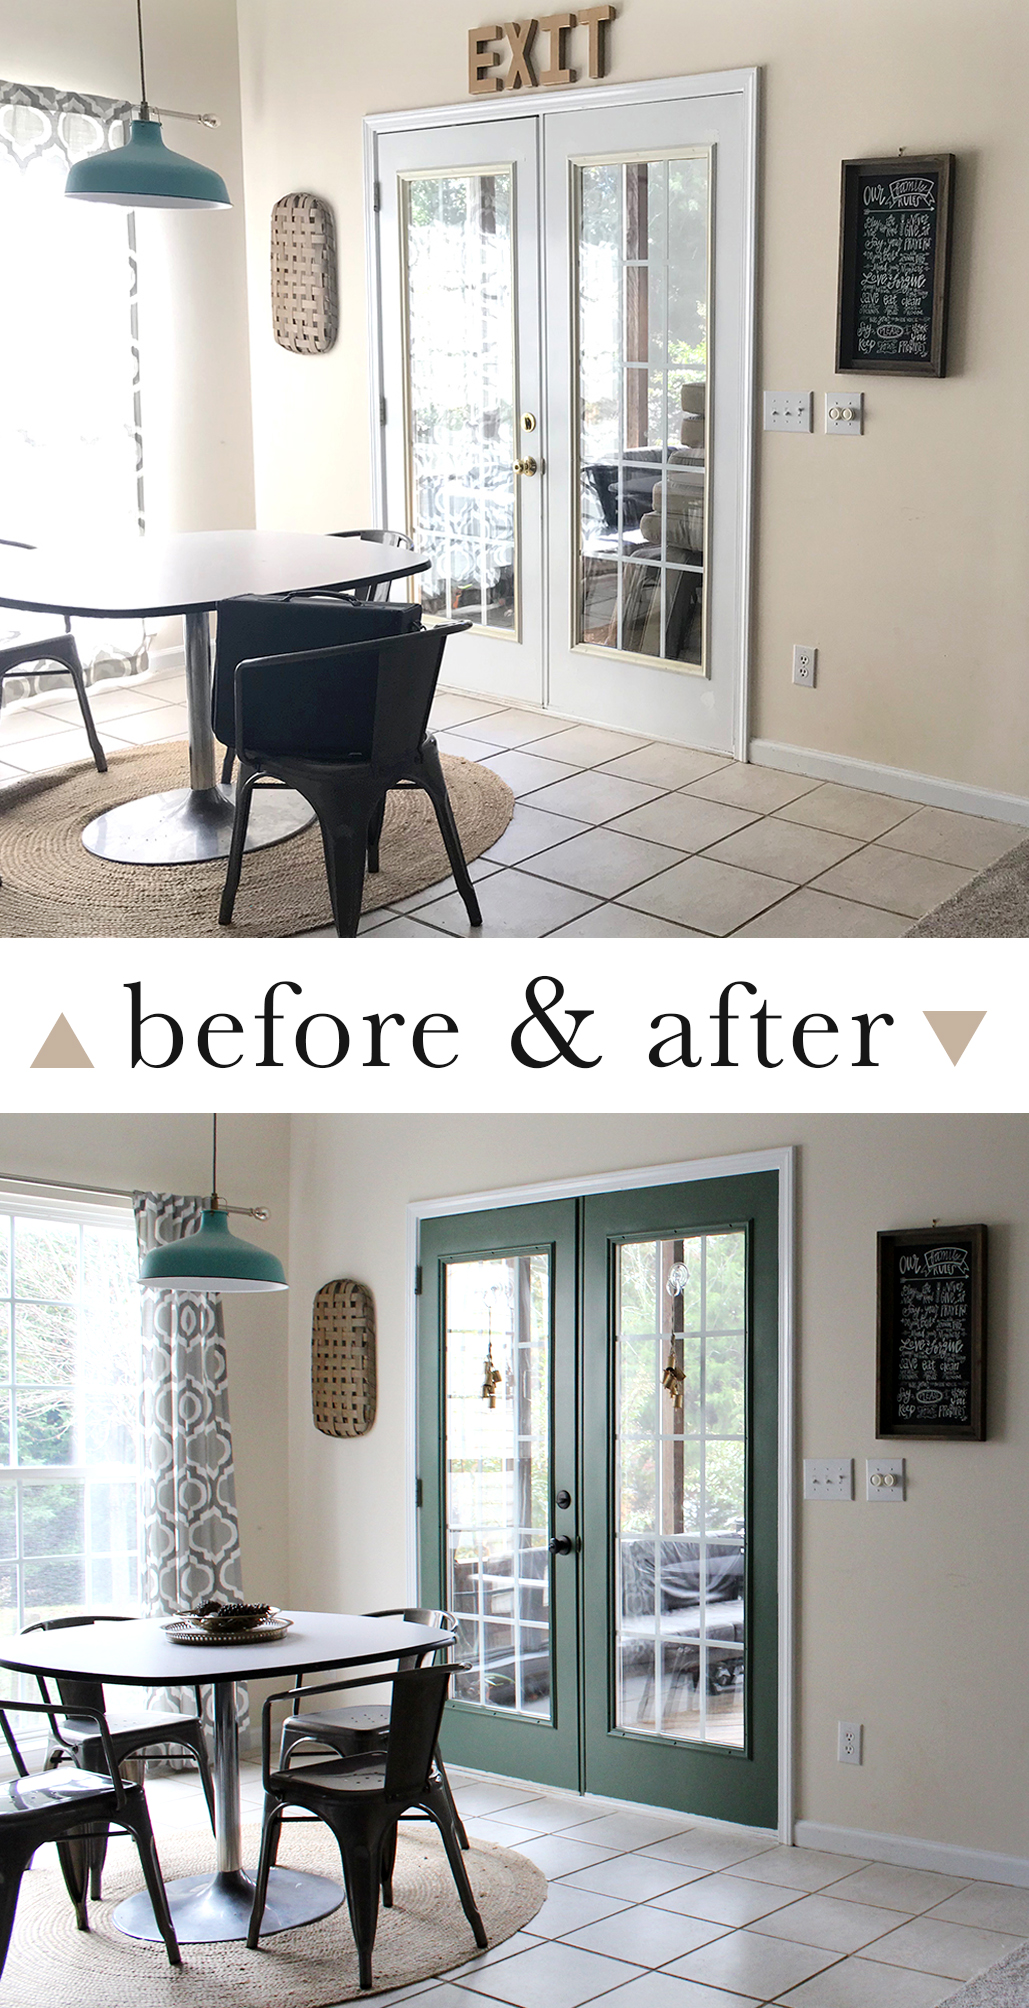
I’m excited to share with you a quick DIY project I completed last week. Our french door was in bad shape cosmetically and it wasn’t in our budget to replace the door completely. New french doors range in price from $400-1500 (and up). I painted our french door for under $50 plus the cost of new hardware (project total = $80).
Overall I am really pleased with how the french door turned out! The green fully covered the yellowed plastic trim that was surrounding the glass. And the new hardware really improved the look of the door.
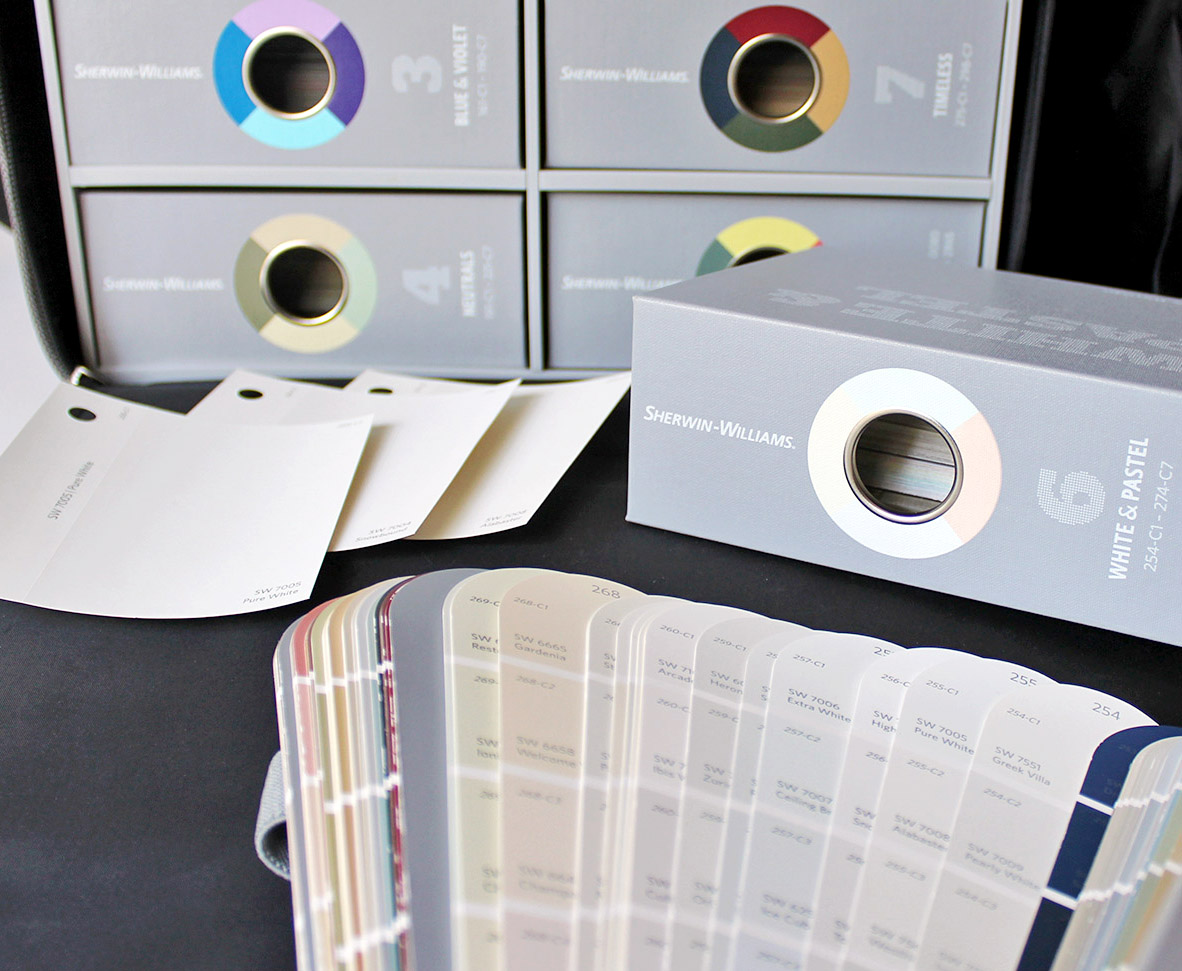
Last week I shared how to quickly pick a paint color with confidence. I used that strategy to narrow it down to the color Sherwin Williams Basil. To save a little money, I had the color matched at Home Depot to Behr Premium Plus Ulta. It was my first time using that paint brand. The paint was a little thicker than I expected but went on smoothly and is holding up well so far.
Scroll down for a supply list of products I recommend and tips for painting your french door!
This article contains affiliate links, you can read my full disclosure here.
Supply List for Painting a French Door
– 1 Quart Behr Premium Plus Ultra, Deep Base Satin Enamel $15
(*paint was color matched to Sherwin-Williams Basil)
– 4″ Mini Roller Brush with 1/4″ nap, $5 with 4″ roller frame $7
– Purdy 1 1/2″ XL Dale Angled Sash Brush, $11
– Drop Cloth (I love this style) $9
– Fine tip craft paint brush (already owned)
– Painters tape (already owned)
-Sand paper (already owned)
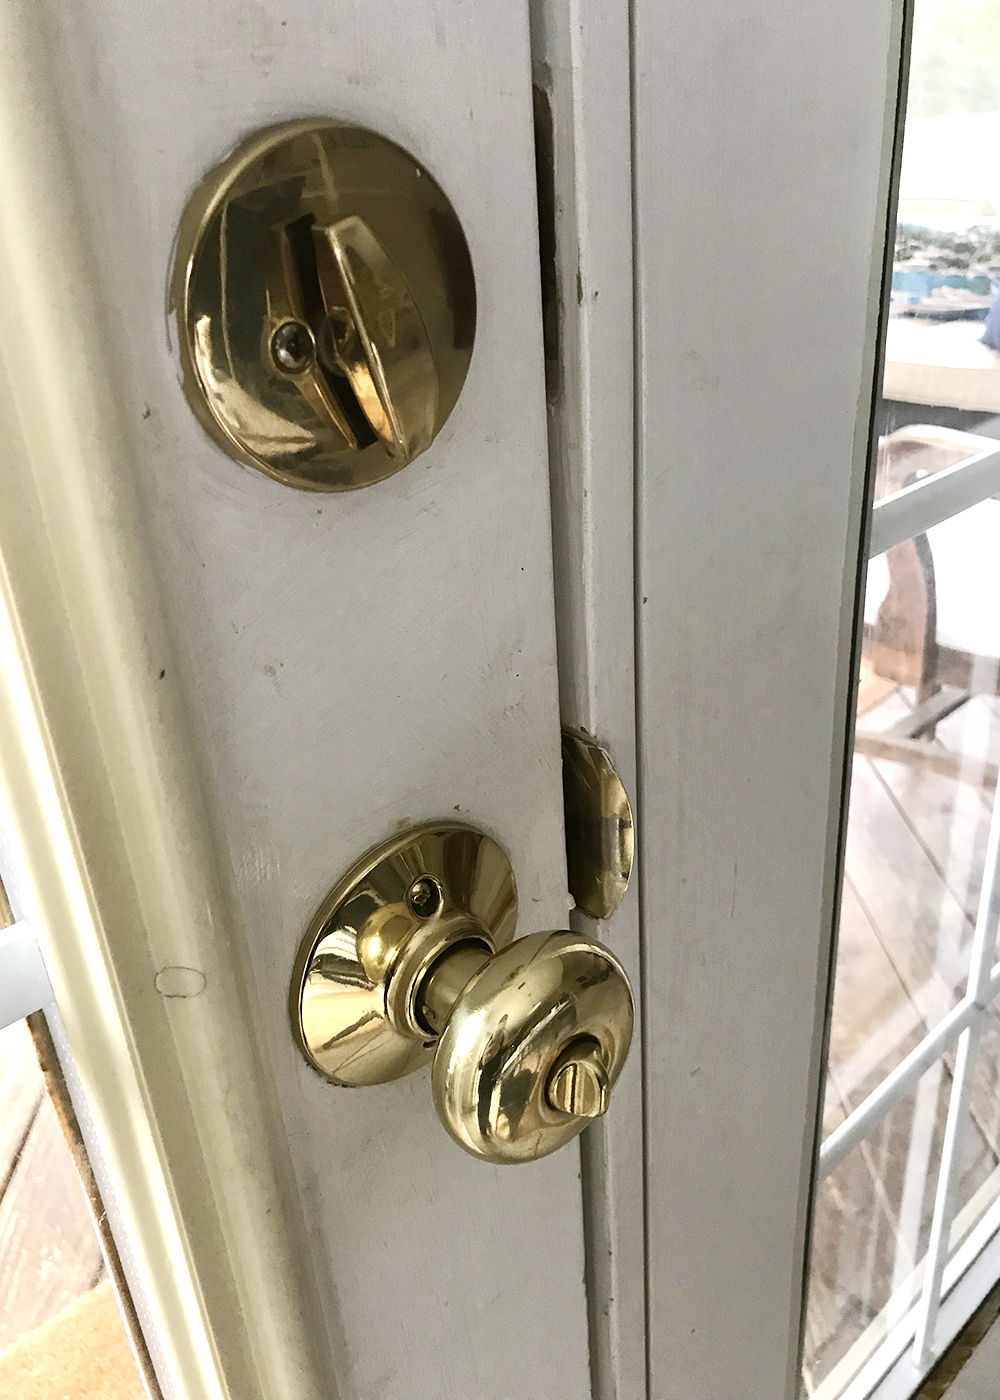
– Kwikset Cove Entry Knob & Deadbolt Combo, $33
My Total: $80
*Note: our door is metal and I painted the interior side. This is a general guide, some changes may be necessary based on your particular door and room.
Step 1: Prep the Doors for Painting
Fill any extra holes that shouldn’t be on the door, remove the trim around the window for easier painting, remove door knobs, and give the doors a light sand.
Wipe the doors down with a damp cloth to remove dirt, and use painters tape around edges as needed. Consider covering the door holes (where the lock usually is) with painter’s tape to prevent cold or hot air from coming in.

Step 2: Begin painting!
Open your quart of paint and stir. Use an angle sash brush in the corners and hard to reach spots of your door. In the next step you will be able to smooth some of the brush marks with the roller brush.

Step 3: Smooth things out
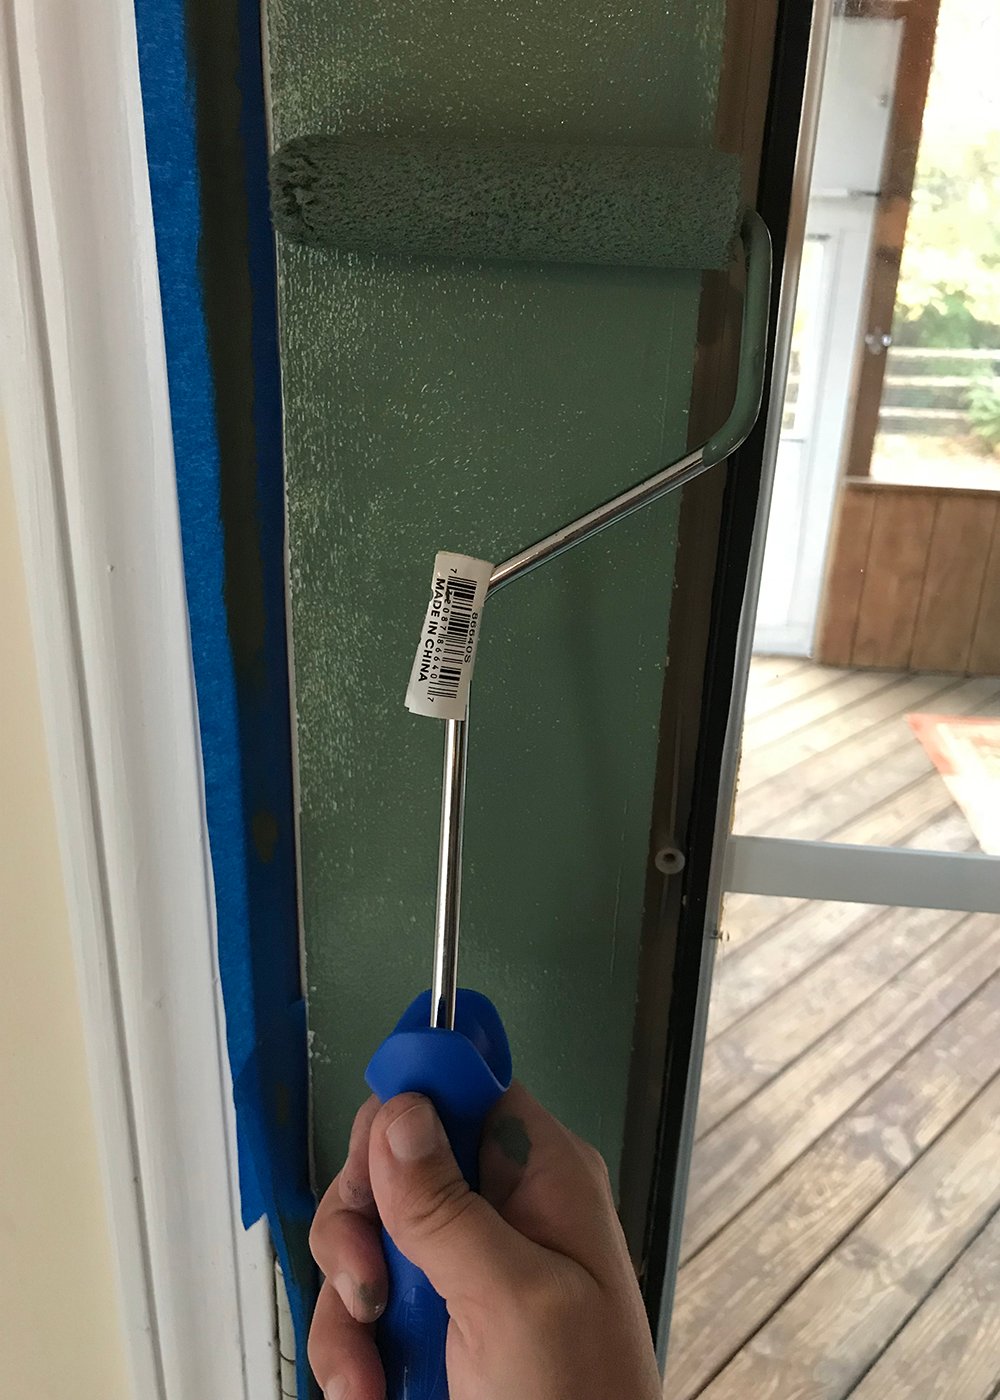
Immediately use a mini roller brush to cover the door in a light coat of paint. This will give the door nice smooth paint finish.
Step 4: Don’t forget the trim pieces
Paint the trim pieces on a flat surface with the angle sash brush. (My 8 year old daughter enjoyed helping with this part!)

Step 5: Add a second coat
Allow 1st coat of paint to dry according to paint can directions (mine said 2 hours, though to be honest I recoated after an hour..) Repeat Steps 2-4. If you are painting the door a dark color like mine, you will need to touch up or do a 3rd coat. But the good news is doors are small compared to painting a whole room…the paint goes on fast!

Step 6: Install new lock hardware
After paint dries, install the lock set. I chose a dark venetian bronze (basically an off-black) lock set that I felt would blend in well with the dark door. At $33 for the lock set it was a good fit for my small budget.

Step 7: Touch Up
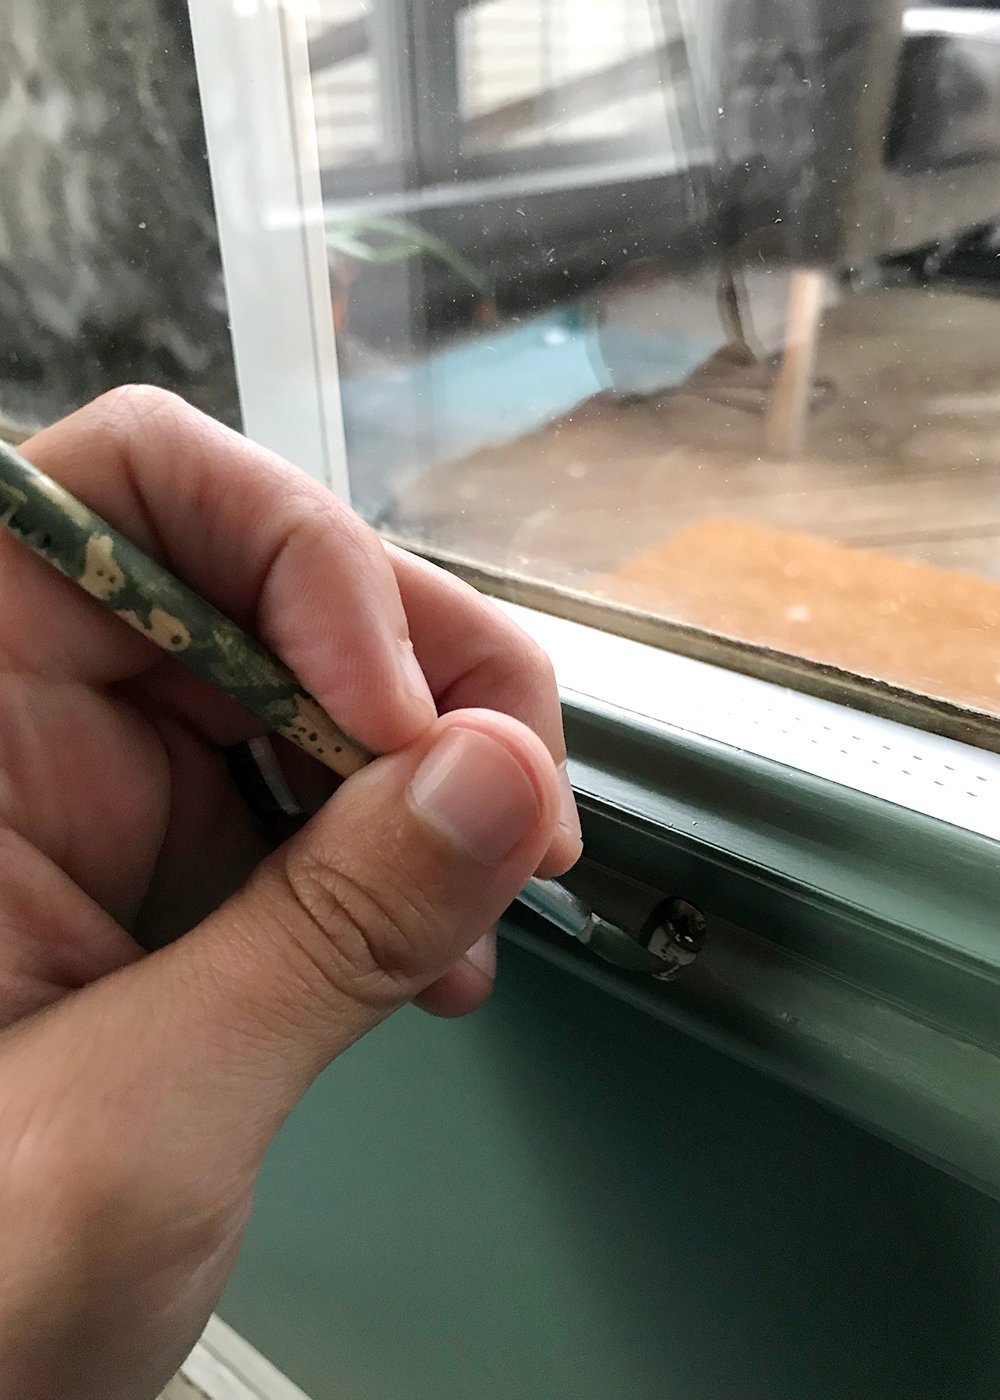
Add back the door trim and do a final look-over at the door. Going from a white door to dark green, you will definitely see the spots you missed. For me I needed to touch up around the new doorknobs and around a few trim holes. A small art style brush worked great for this step!
Finished! I love DIY projects like these because they take a small amount of time, don’t require a lot of money, but they make a big impact in the room.
I still plan to replace the curtains and paint the walls (I already have the wall paint) but ran out of time last weekend. Scroll down for more pictures of the door, I love it in green!



Very nice. What color(s) will your curtains be? Will you keep the
light over the kitchen table? I’m looking forward to seeing more
projects.
Thank you! I’m thinking a modern pattern for the curtains…maybe black and white. The light will stay but I might spray paint it depending on the curtains I find.
So I am looking for the new trim to go around window. My trim takes window dividers out. What is it called where do I buy it?
702-373-5835