Small Pantry Makeover for $300
The links in this post may be affiliate links. That means that if you click them and make a purchase, this site makes a commission. It will have no impact on the price you pay or the experience of your purchase.
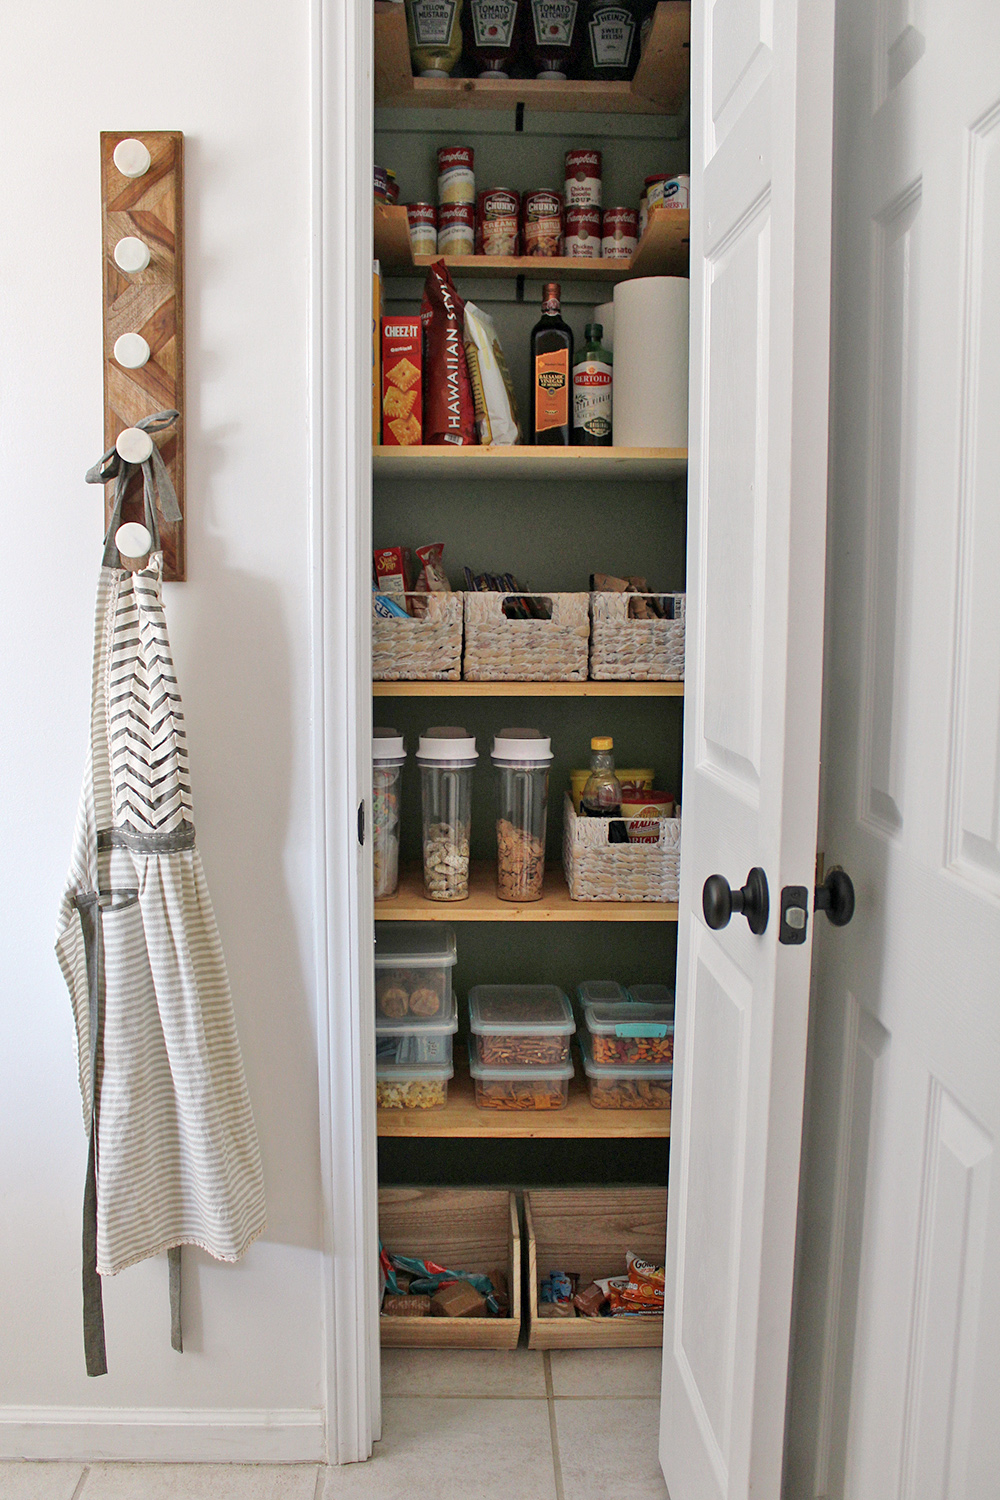
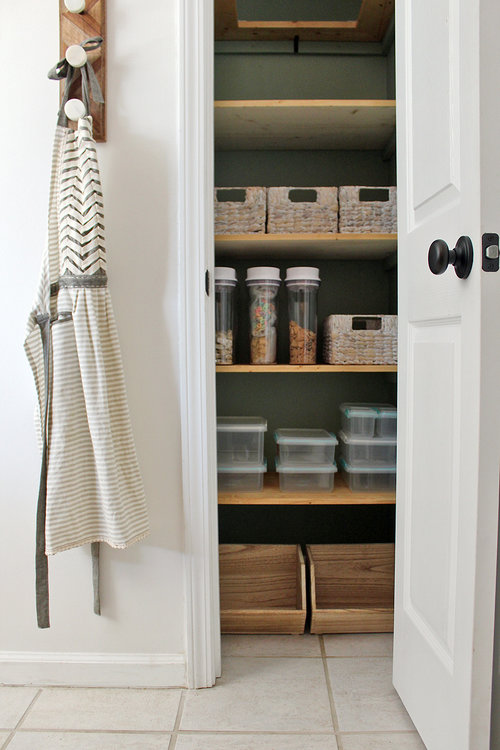
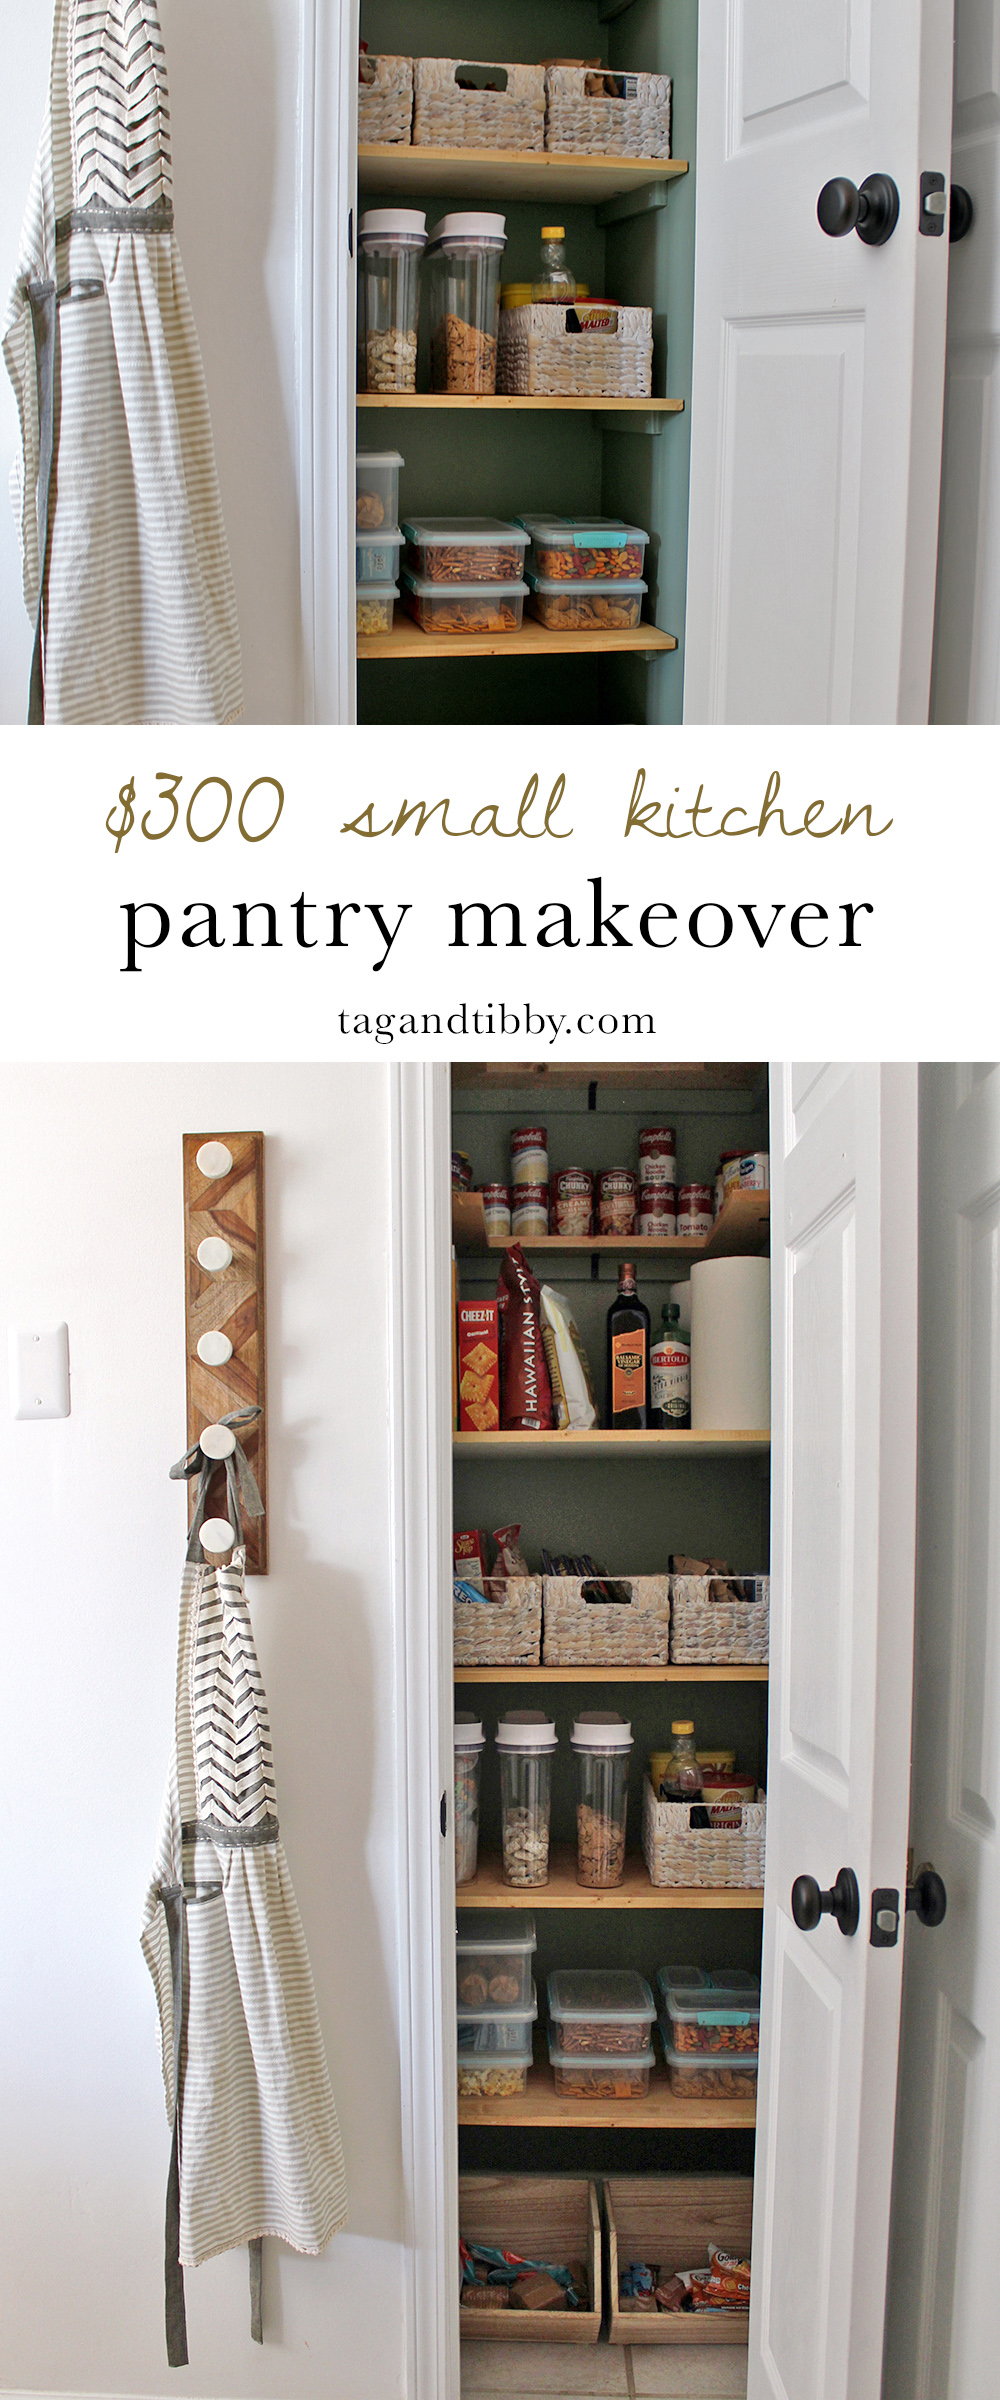
This article shares a small pantry makeover for under $300. The result was fresh with wood shelving instead of wire racks, and storage solutions, and it is now aesthetically appealing with fresh green paint.
Our kitchen pantry was a disorganized disaster. I stuffed lunch boxes in the upper shelves, our kids housed their leftover candy in buckets, and I stuffed cardboard cereal boxes where I could fit them. It is a small pantry, its width is right around 24”.
We decided to improve the function of the kitchen pantry with deeper wood shelving and 2 U-shaped shelves along the top.
FAQ about the Small Pantry Makeover
This kitchen pantry was a “long weekend” DIY project. We started it on a Saturday night and finished it on Tuesday (with breaks!) I painted the walls and stained the wood shelves. I also installed new rubbed bronze hinges & door knob because it seemed like the right time to remove the shiny 1990s brass.
All in all, we gave our kitchen pantry a makeover for under $300! That price includes construction supplies and organization supplies (article on that here). Scroll down for more details on the project!

This article contains affiliate links, please read my full disclosure here.
Small Pantry Makeover Supplies
Shelving Materials
- 2 Laminated Boards (for main shelves) 15.75” depth, purchased 2@ $13.15 = $26.30
- 3 1 in x 2in x 6ft Edge Board (support pieces under each shelf) 3@ $4.28 = $12.84
- Box of 2” Spax Construction Screws (#2 Phillips) = $8.58
- 1in x 5in 6 ft common board (material for u-shaped shelves) 2 @ $6.07 = $12.14
- 1 Flat Corner Brace 1.5” zinc 4 pack (for u-shaped shelves inner corners)= $2.27
- 1 Flat Corner Brace 2.5” zinc 4 pack (for u-shaped shelves outer corners) = $2.67
- 2 Black Corner Brace 1.5” (4 pack) for support under u-shaped shelves, 2@ $2.98 = $5.96
Paint Materials
- Shur-Line Edger Pro (used on the high ceiling) =$4.97 *
- Woven Mini Brush (set of 2) $5.67**
- Mini Roller Tray 2@ $2.97 = $5.94
- Behr Premium Plus, Medium Base Eggshell Quart in SW Coastal Plain = $15.58
- Varathane Classic Stain Quart in Ipswich Pine $7.98
Light & Knobs/Hinges
- Battery Operated Motion Sensing LED Ceiling Light (Pack of 2) = $19.43
- Oil-Rubbed Bronze Door Hinges (used 3 from a 12 pack) = $5.75
- Oil-Rubbed Bronze Hinge Pin Door Stop = $2.28
- Kwikset Juno Hall/Closet Knob, Venetian Bronze = $20.57 (lower price online here)
*attached edger to extension paint pole, already owned
**will need a mini roller frame, edge brush for corners, something to cover floor -already owned
Small Pantry Makeover Supplies Total = $158.93
I spent $133.78 on organization supplies for my pantry. Article on the pantry organization here!
Building Supplies $158.93 + Organization Supplies $133.78 = Project Total $292.71

Shelving Details for Small Pantry Makeover
Our original pantry wire shelves were 12” deep. We replaced the wire shelves with 15.75” deep laminated boards. We had the laminated boards cut to 24” wide at the home improvement store before bringing them home.
We built u-shaped shelves with 1” x 5” common board for the top two rows so we could more easily reach for canned goods and things didn’t get lost up there. Before screwing the u-shaped boards in place, we installed a battery-operated motion light in the ceiling so now we have good lighting in the pantry!
Tip: before you have the laminated boards cut, check the width of the pantry walls in the back and in the front of the pantry, ours were not perfectly square so we needed the shelves to be just under 24” wide.
Day 1 Overview
We purchased laminated wood for shelves, had it cut in store, and tested it over existing wire shelving to confirm fit. I removed old wire shelving with pliers. We were fine with the old shelves’ height, so my husband worked with the existing screw holes and a laser leveler (already owned) to install edge board support pieces.
We installed support pieces on left and right side of the wall for the 4 main wood shelves, and installed support pieces on all 3 sides of the wall for the 2 upper u-shaped shelves.


Day 2 & Day 3 Overview
We created u-shaped shelves using common board and a 10” miter saw (already owned) cut at 45 degrees. If you do not own a miter saw, they are available to rent for around $32 for 4 hours. We joined the corners using flat corner braces (1.5” for the inner corners, and 2.5” for the outer corners).
I selected green paint in the pantry to add personality and match the green French doors in our breakfast nook. I went several shades lighter than Basil (since there is less light in the pantry), and selected the color Coastal Plain. I painted my first coat on Day 2.
I used an Edger Pro on an extension pole to get the top corners of the pantry. I also stained the wood shelves on Day 2 using an old soft cloth in a well ventilated room.
On Day 3 I painted a second coat of paint and my husband installed our motion-sensing LED light (do this before installing the shelves), and installed the shelving.


Day 4 Overview
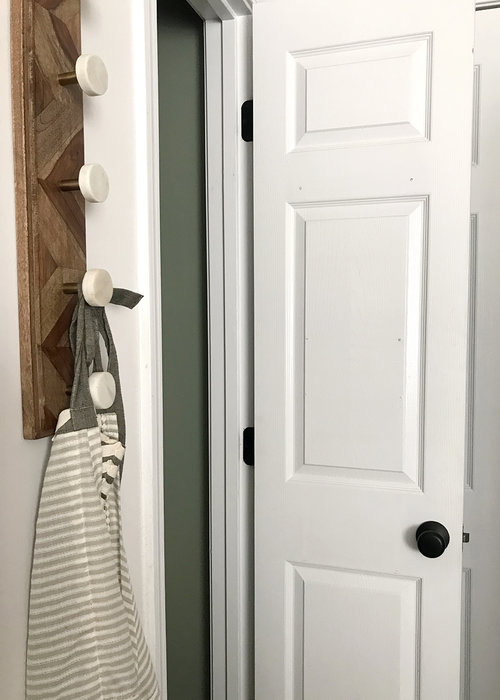
I replaced our original brass door hardware with oil rubbed bronze hinges and the Kwikset Juno Hall/Closet Knob in Venetian Bronze. Last I added our new organization supplies and food (the most important part!)


All in all, this was a really fun long weekend project! If you are a fast DIYer this pantry makeover could be completed in 2-3 days. We stayed on budget at under $300.
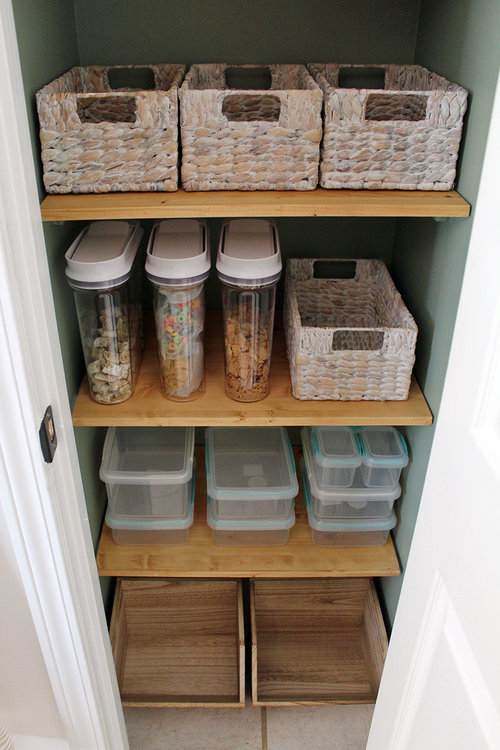
And the kitchen pantry feels so much more useable with its deeper shelves and bright light, and the baskets help keep things organized by category. I am truly surprised by how much more food we can now store in the same space!
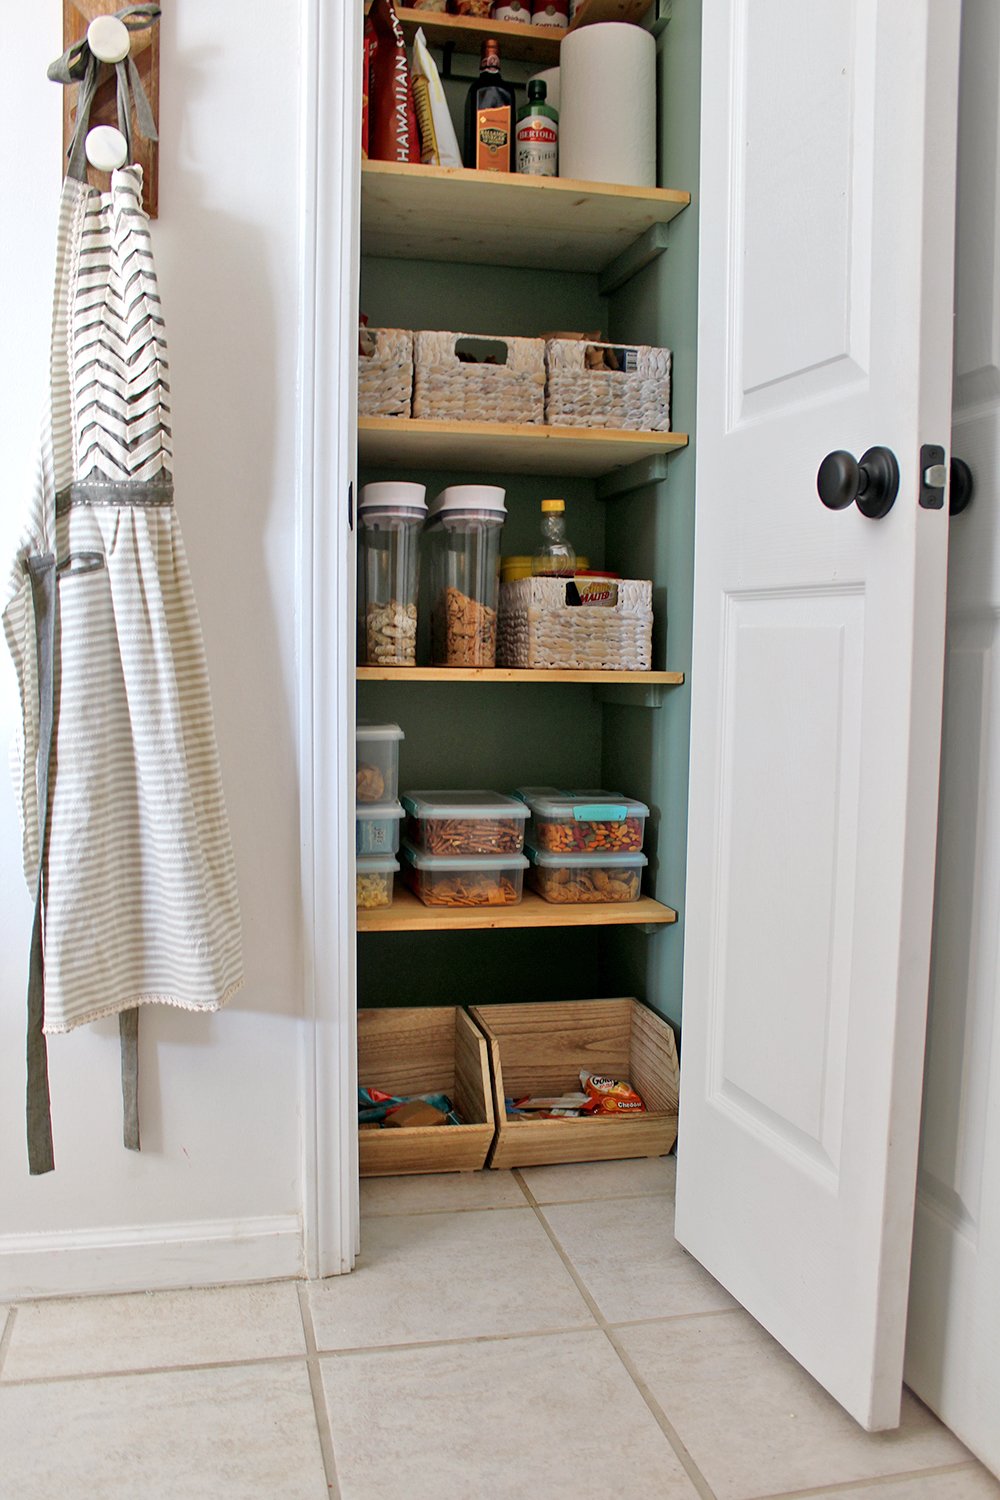

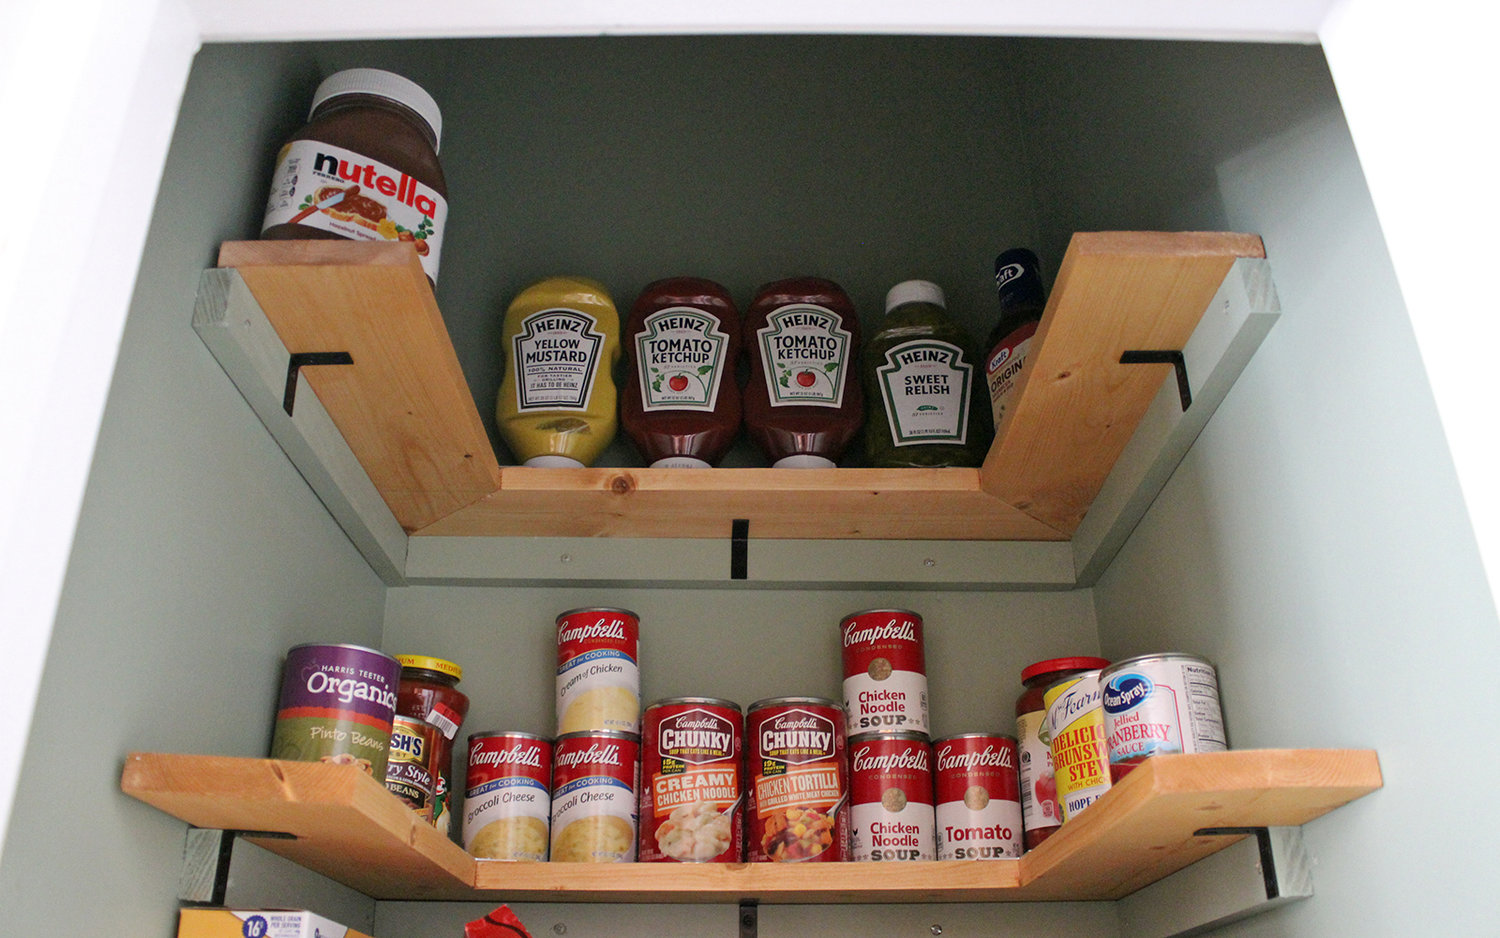
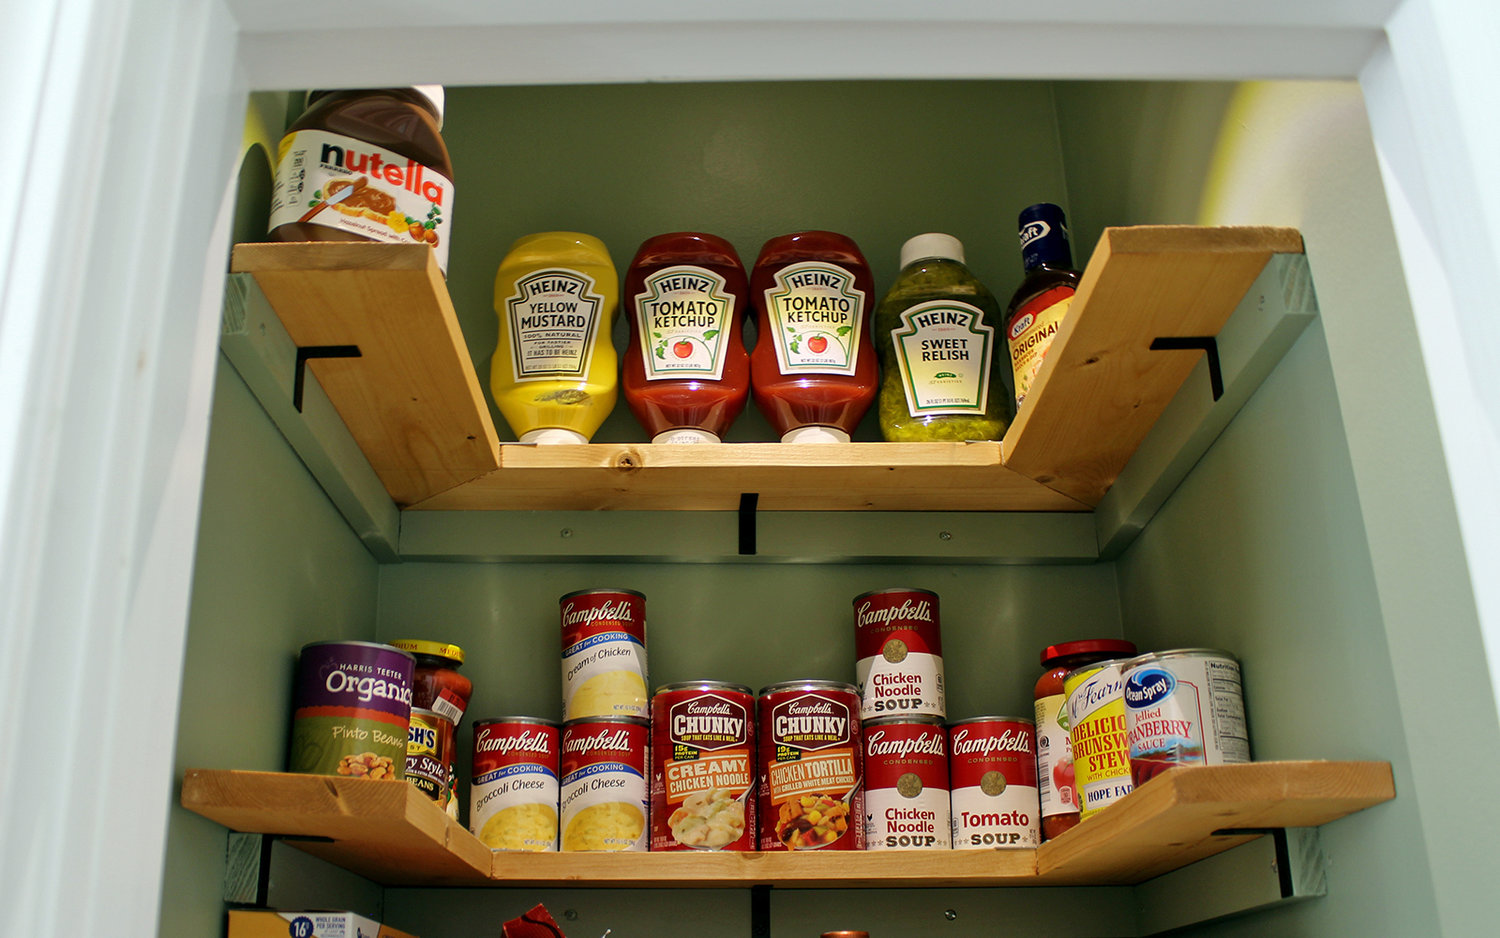
We based our shelving spacing on the original wire shelves (for simplicity’s sake). I do like the 13.75” height on the lower shelf for large cereal boxes. And the highest shelves hold canned goods, so 11” is plenty tall enough.
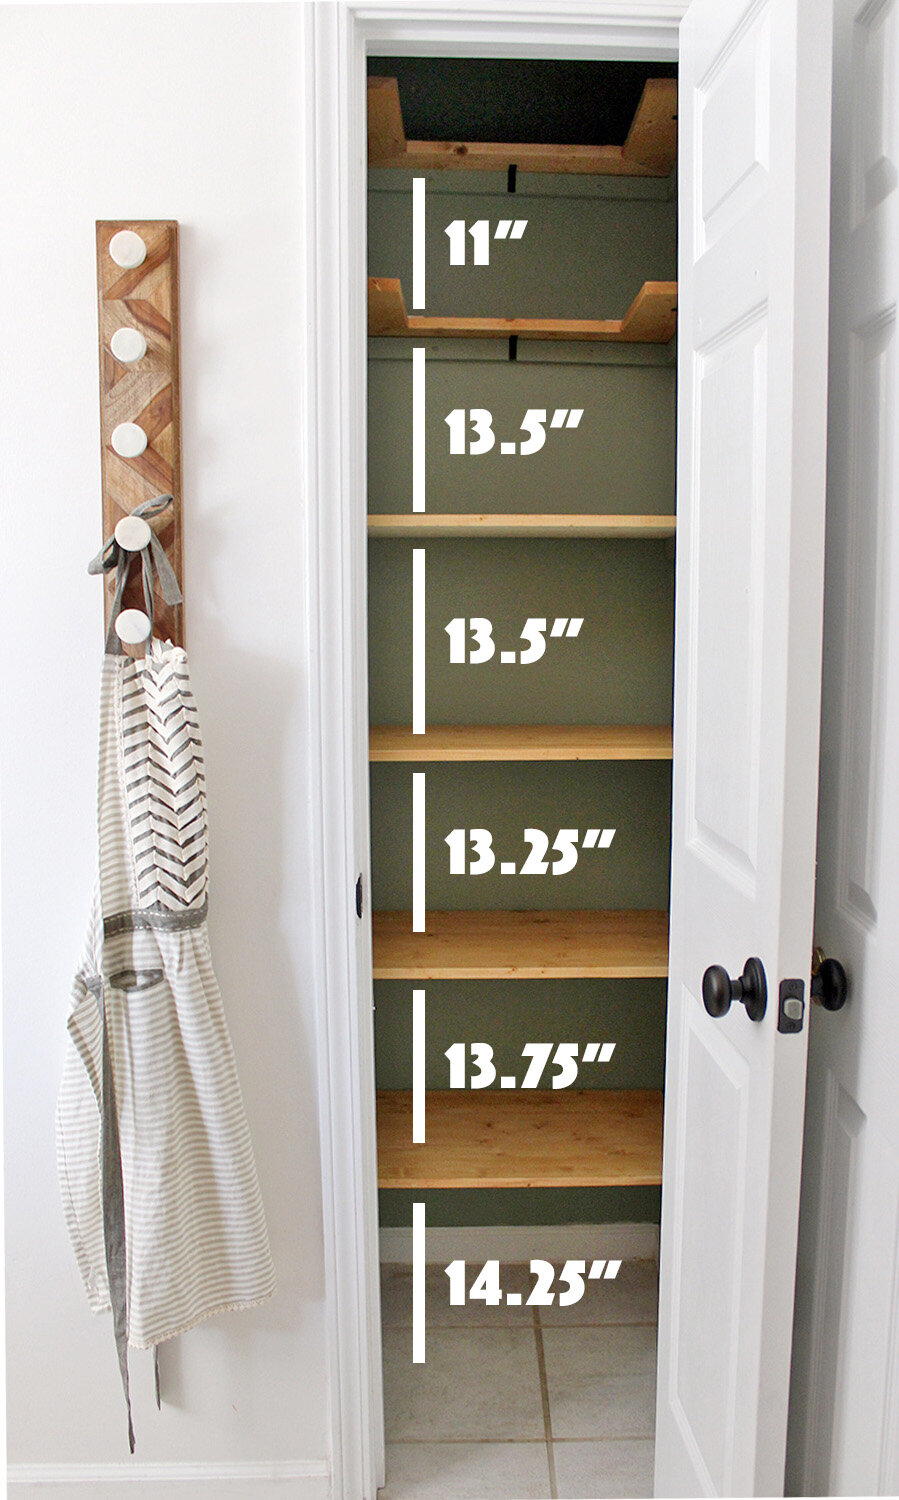
If you have any questions about the process, I will do my best to answer them! It is always a challenge to know how many details to include in a DIY post. Hopefully, the supply list and overview of our process will help you update your small kitchen pantry with ease!




I love it! How far apart did you space your shelving from floor up to top?
I’m sorry for the delayed response! I uploaded a picture today to this article showing the spacing of the shelving. Hope it helps!
What made you choose the depth the way you did, and not have it out all the way to the door?
Great question! We hang a broom on inside of the door and wanted to leave some space for that. If you need the space for a broom or spice rack, you could extend the shelving further.
Thank you, thank you for laying out this project so well that I believe I could actually accomplish it! Great coverage from multiple perspectives:
the photos are very well shot to pinpoint details, your budget, your shopping list, and good answers to comments to further explain. I am so impressed! I’ll take a look at what else you’ve posted. I’ll bet I will get all revved up and can-do attitude all over again
I am so glad it helped! It makes the space feel so much more useable.
Hello! One question: have you felt you needed the rear support board on the larger (lower) shelves? Or have they held up with just side support?
I am now following your wonderful example for my own pantry, but my shelves are slightly longer at 28 1/2 inches and I wonder if a rear support board will help.
Thanks for such a helpful post!!
That is a good question! We didn’t keep anything heavy enough for it to be a problem but if it is a concern (and since they are a little longer) I think it would be a good idea.