6 Practical Tips for Storing More in a Kitchen Pantry
The links in this post may be affiliate links. That means that if you click them and make a purchase, this site makes a commission. It will have no impact on the price you pay or the experience of your purchase.
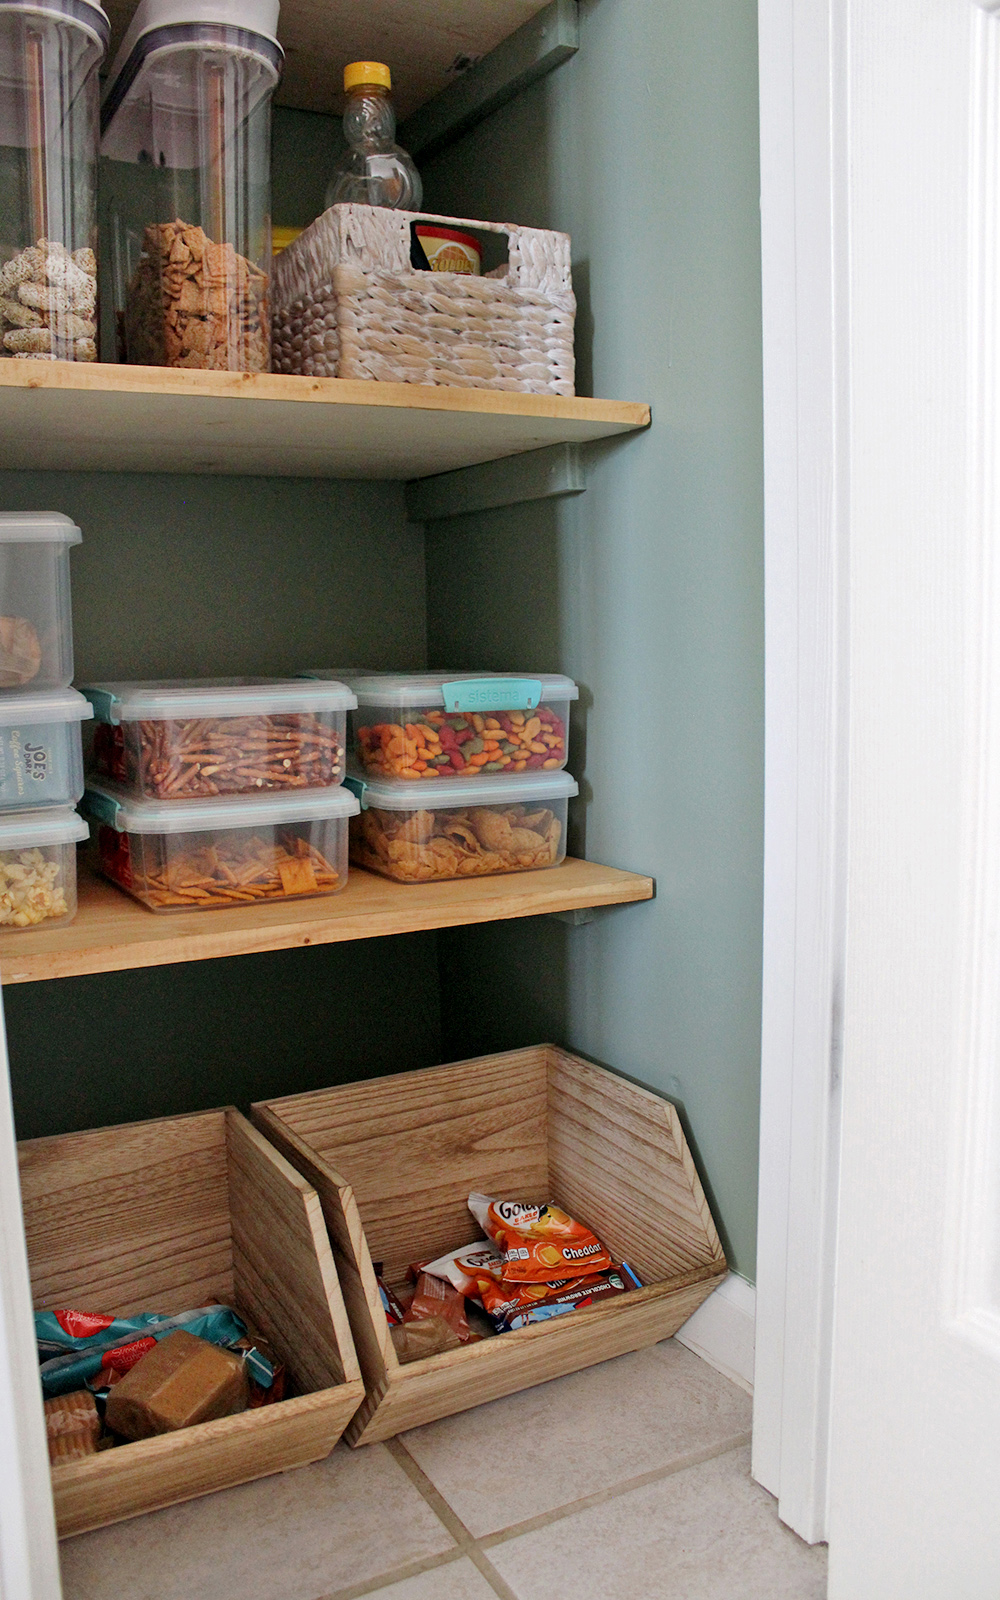
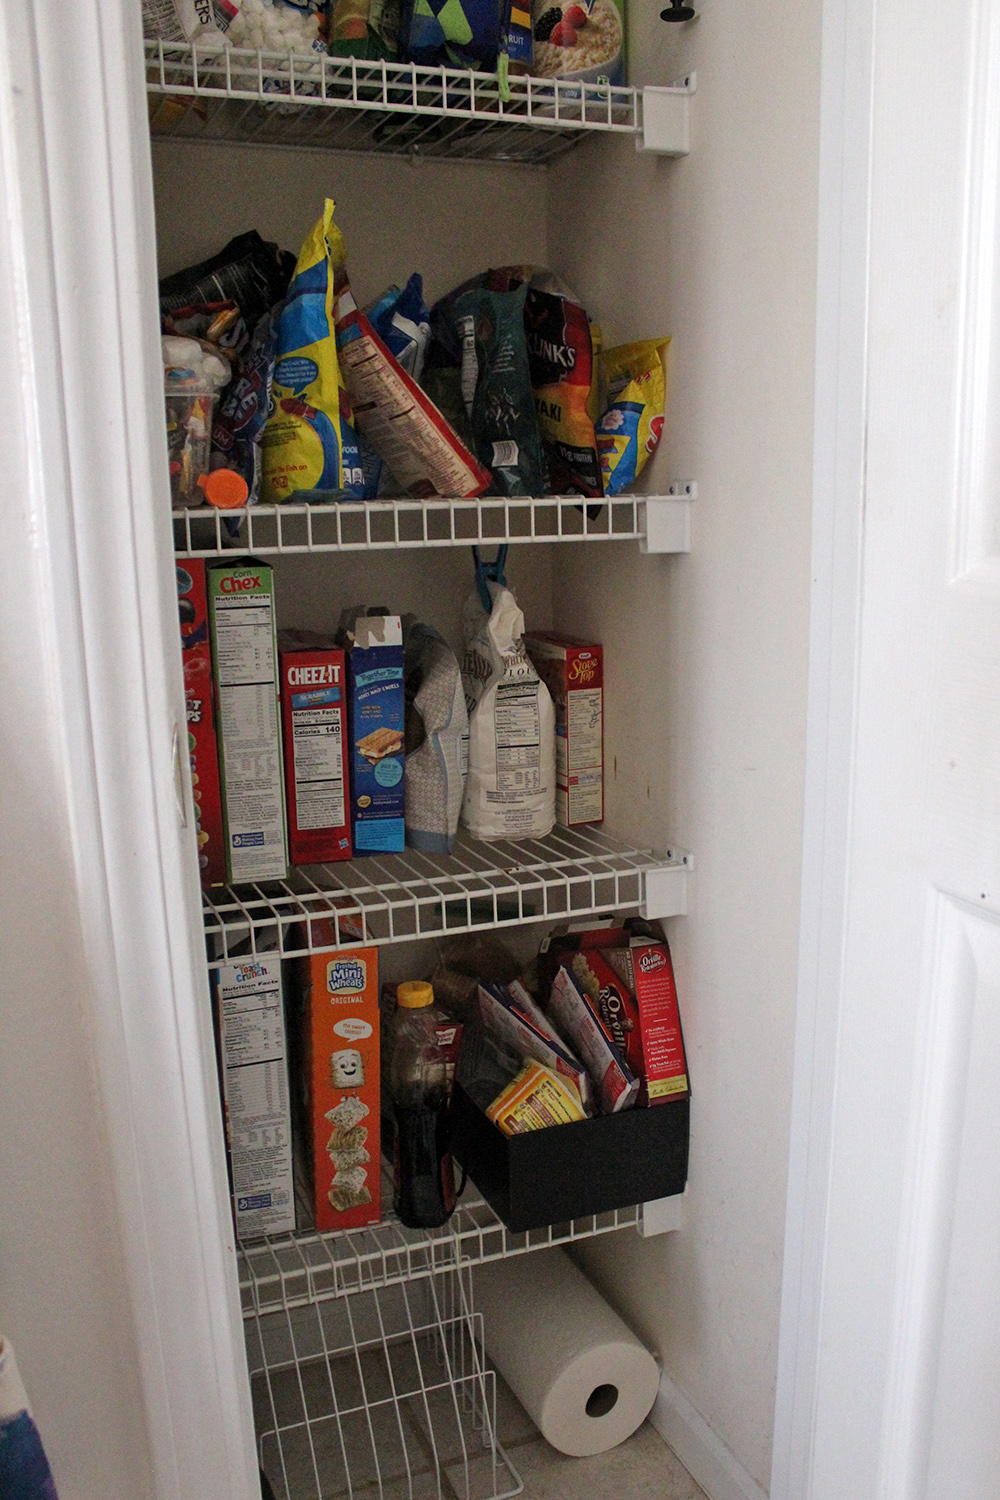
We recently updated our kitchen pantry. We removed the wire shelving and installed deeper wood shelves along with a few u-shaped shelves (more on that project here). Prior to this update I had no organized system for our pantry storage, other than that kid-friendly snacks went on the lower shelves. Food was packed in. I couldn’t see how much cereal or snacks were left, and several items should not have been in the pantry at all.
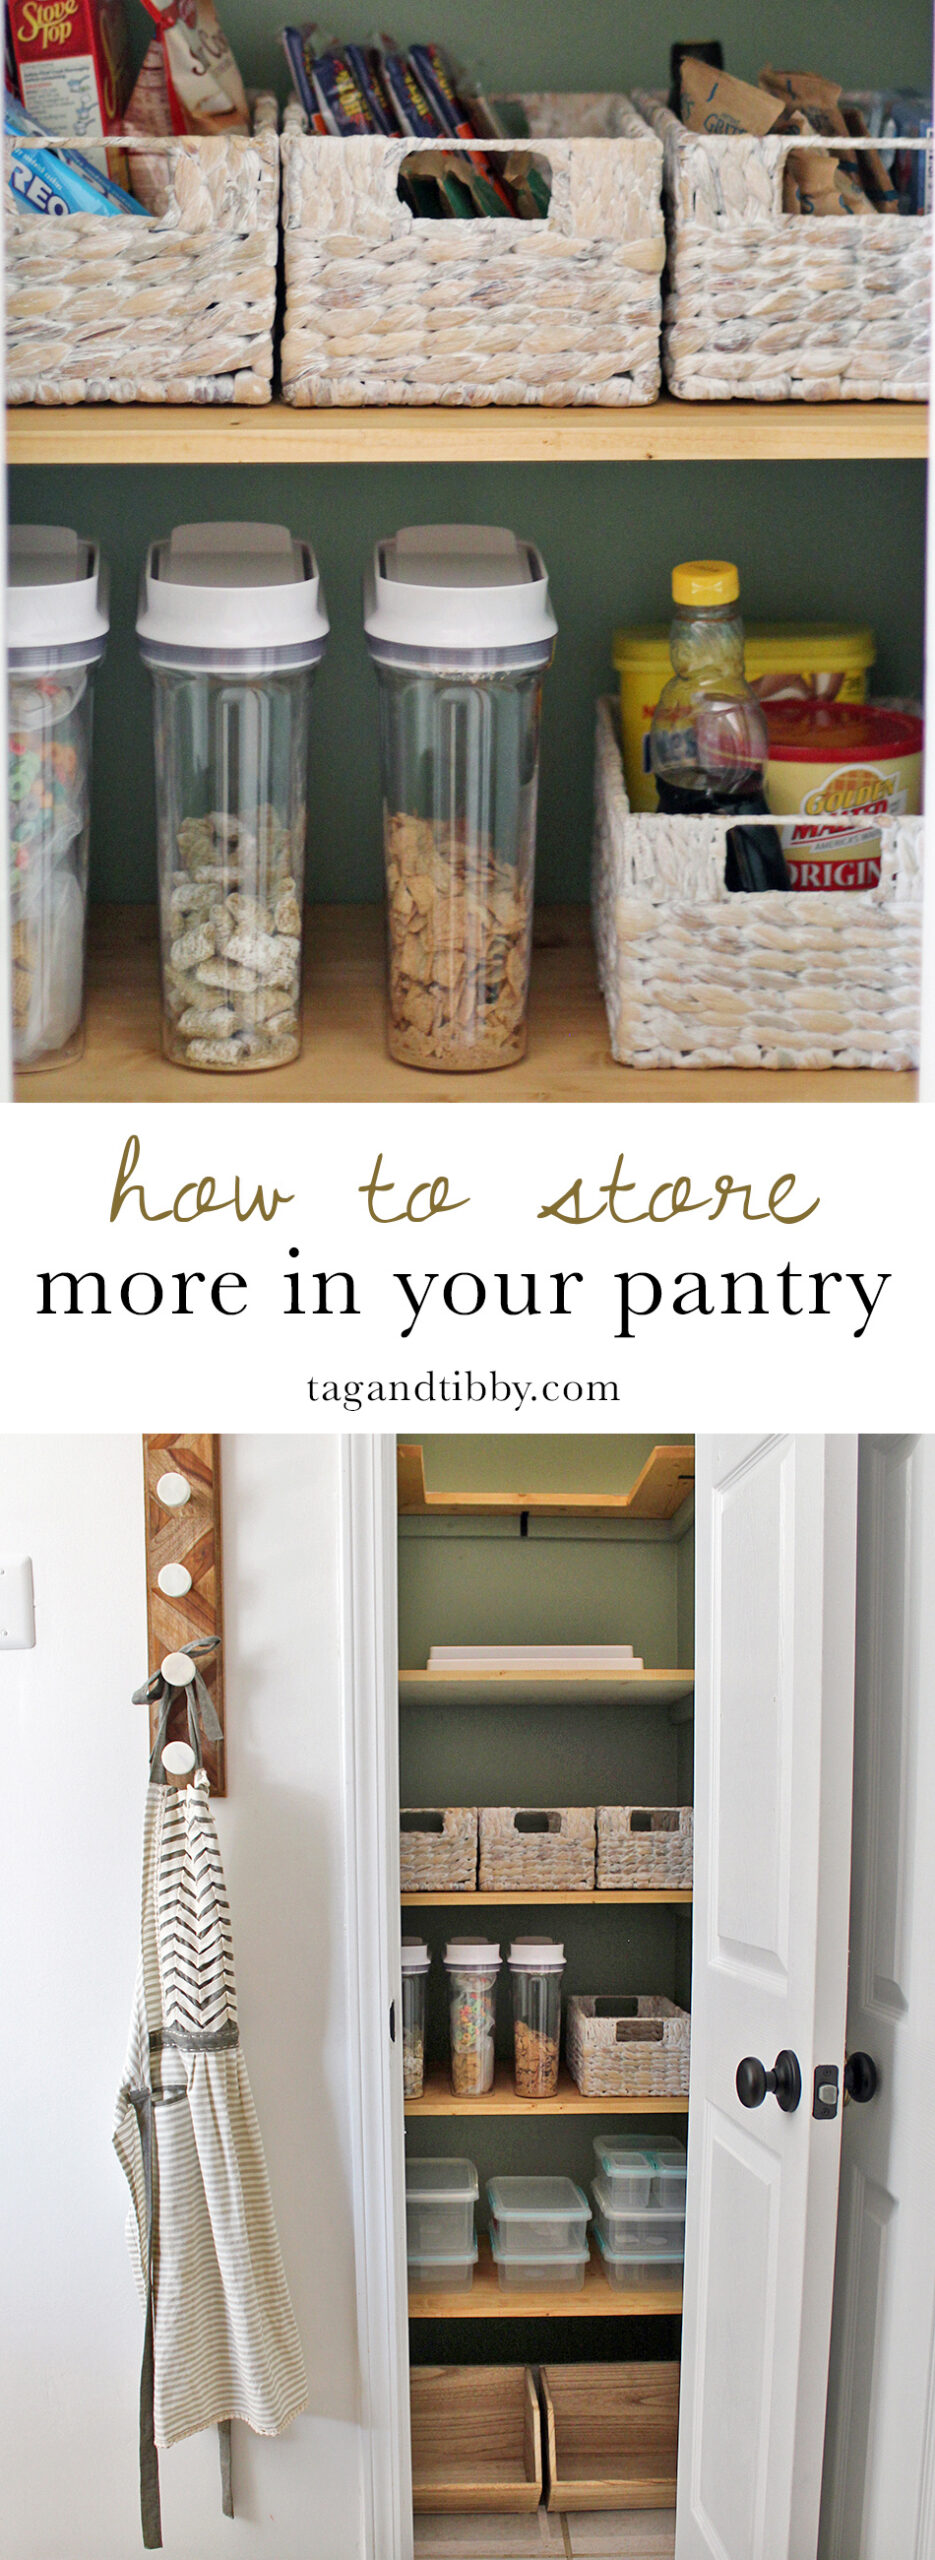
Meanwhile each time I watch an episode of Marie Kondo’s show Tidying Up I am inspired to straighten a spot in my house! So before we added all our food back after installing new shelves, I spent $133 on pantry organization supplies. I purchased baskets, clear cereal containers, and clear snack containers. Sorting out food, planning the space layout, and creating a better storage system made our small pantry feel much larger and more usable.
Scroll down for 6 practical organization ideas for your pantry!
This article contains affiliate links, please read my full disclosure here.
1. Start with a Blank Slate
When we removed food items from our pantry to install new shelving, I instantly noticed food goods that did not belong (including expired flour, halloween candy, and old lunchboxes).
Removing every item is a great way to start the process of getting organized. If possible, lay things out on a table to sort through what will stay and what needs to be thrown away or moved to a different space.
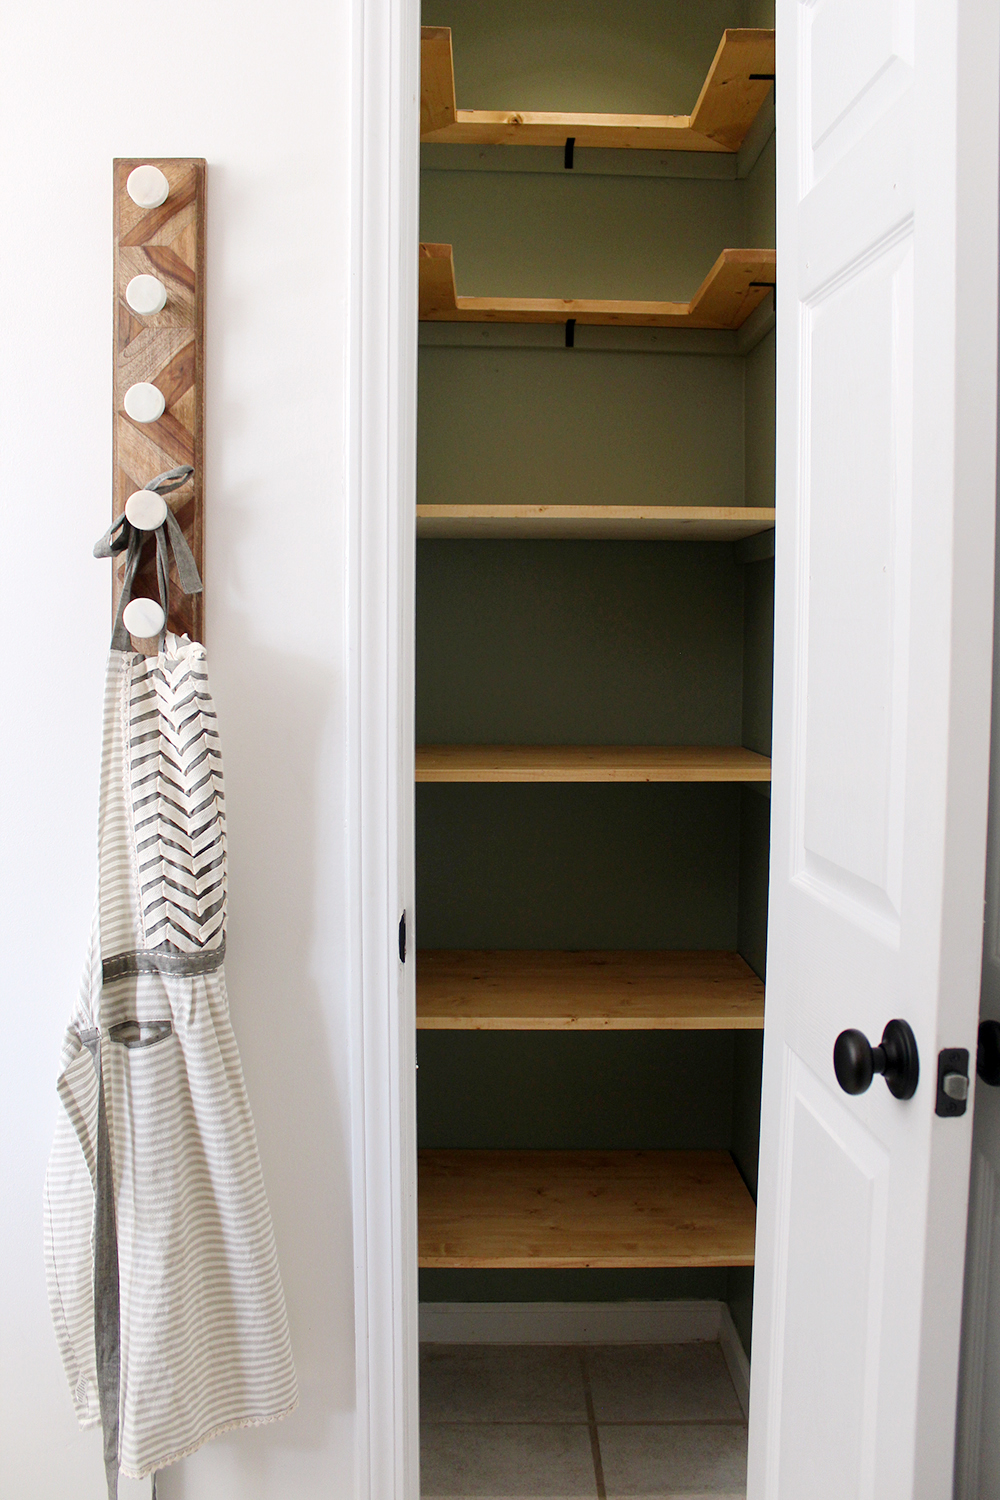
2. Plan before placing food back in the pantry
After sorting through pantry items and purging what doesn’t belong, think about what shelves you use the most often. Our two kids use the bottom 2-3 shelves and the adults use the middle shelves the most often. We use our upper shelves the least, but they are still useful to have canned goods.
The baskets and containers you select should make sense for the height of the shelf. For example, it would not make sense to place baskets up high because it would be impossible to see anything and food would go stale. But storage solutions placed below eye level, like these wood bins, work great for snacks and everyday items.

3. Use Clear Containers
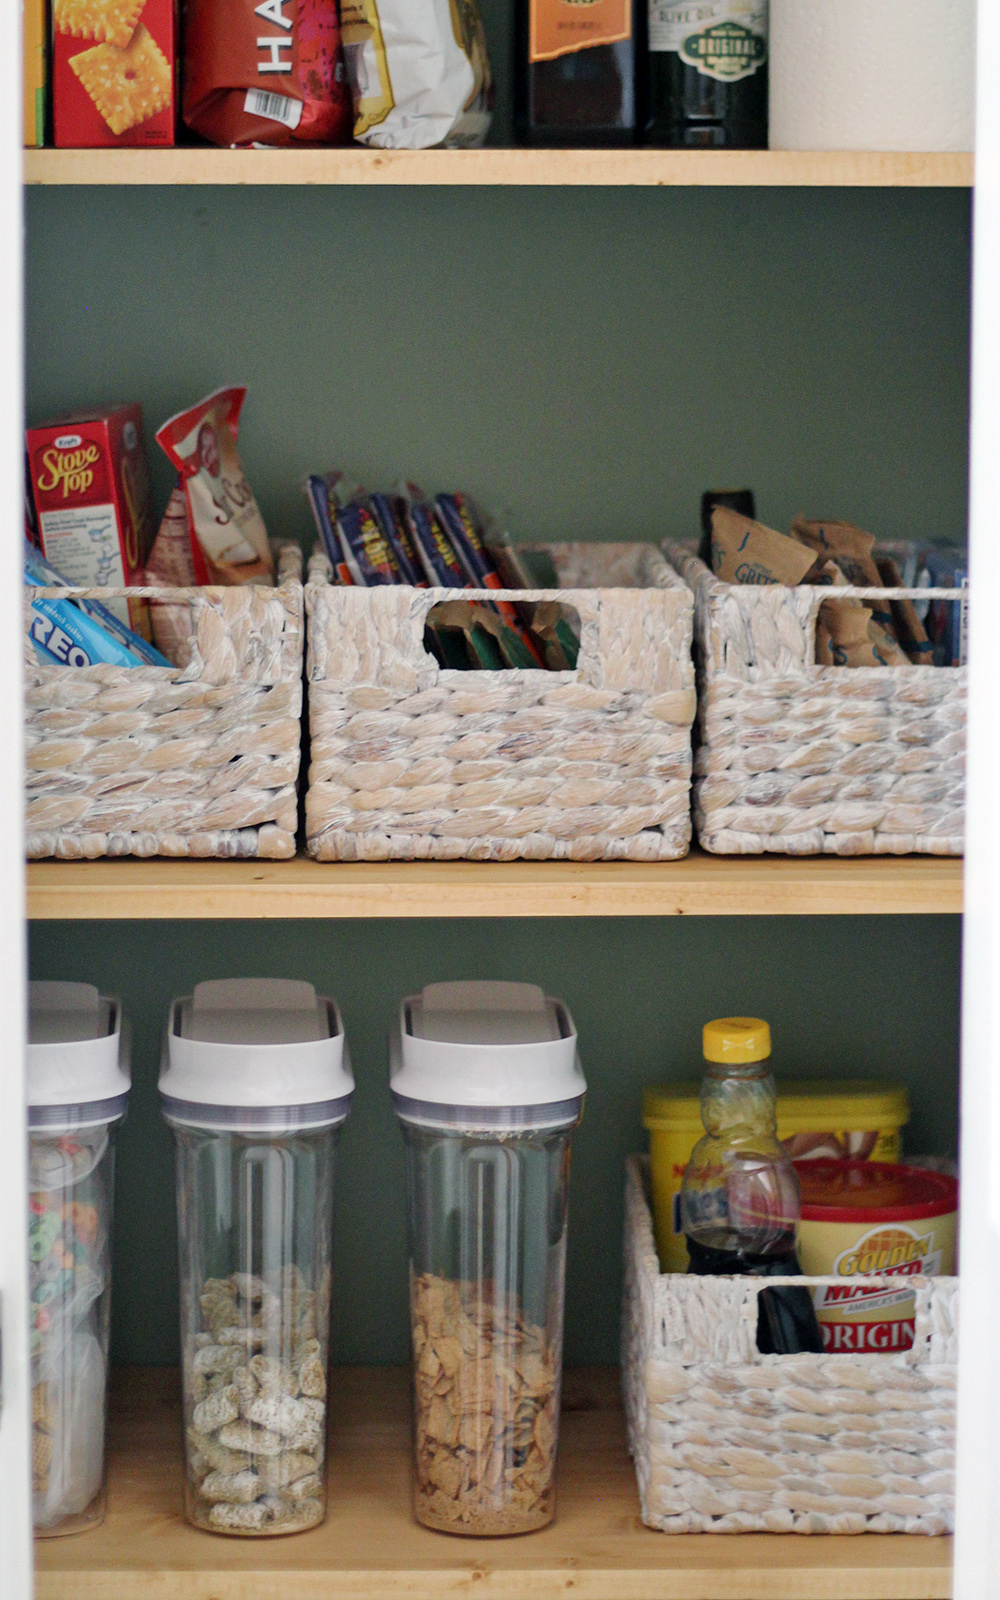
Clear food containers are life changing and will maximize your storage space! Now we instantly know how much cereal and snacks we have left in our pantry and they won’t go stale as quickly. I splurged and purchased a set of 3 OXO cereal containers (3.4 quart size) because they have a great reputation and I wanted our two kids to have the freedom to open the cereal container & pour without help.

4. Try Stacking Containers
Clear, stacked containers work great for snacks. The containers we purchased for our pantry are budget-friendly, dishwasher safe, and BPA free. It was important for us to find containers easy for our elementary age kids to open on their own.
With our 24” wide pantry we fit three rows of 7” wide containers. I purchased varying sizes including the Sistema 3 liter, 2 liter, and 2 liter split. They all stack so I can maximize the use of space between shelves.

5. Organize in Baskets
Baskets are a great way to sort dried pantry goods. Measure your pantry width and depth before shopping for baskets, and take a tape measure with you to the store! I found our baskets for $5.99 each at Homegoods and they fit 3 across.
Think about grouping within each basket. For example it might make sense for your family to have a breakfast focused basket with oatmeal, pancake mix, and syrup. Or each family member could have their own basket. Take popcorn bags, oatmeal packets, and hot chocolate out of their boxes and place directly in a basket to save space.
6. Store occasional food supplies in the hard to reach spots
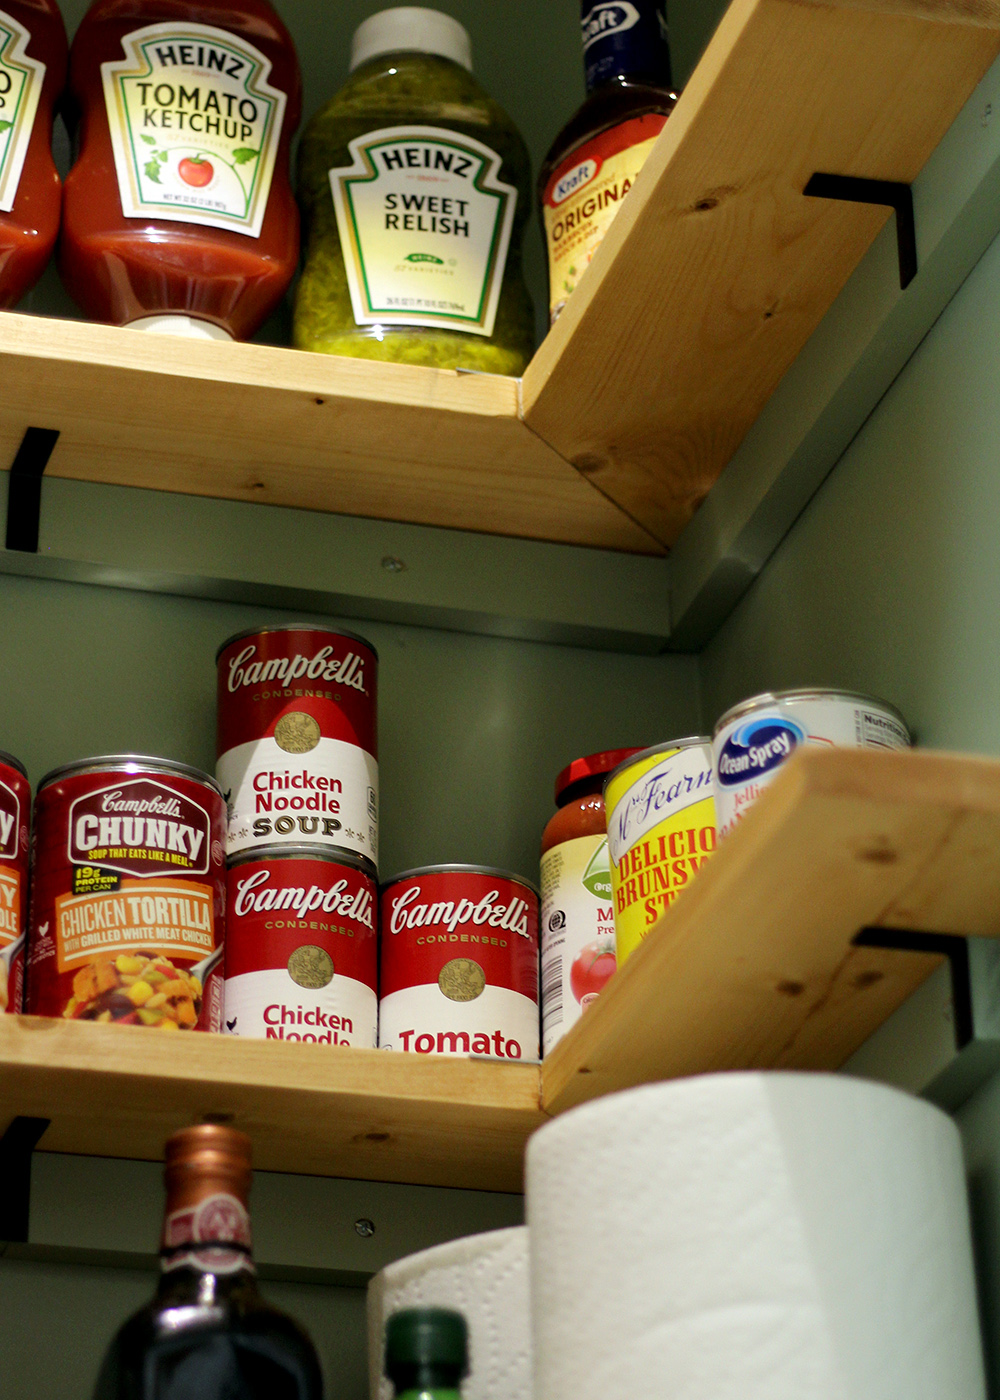
Lastly, think about what makes sense to store on top shelves and hard to reach spots. Store a step stool nearby to access your pantry storage (we keep ours next to the refrigerator). For us we decided to store extra condiments, pickles, salsa, and soups at the top because we don’t use them daily.
I am not an organizing expert (just look at the before picture of our pantry, ha!) but our pantry recently went from a disaster to fresh and organized. I hope this inspires you to rethink how you can store more food in your small pantry and provide your family a lot more kitchen storage.
Sorting through your pantry goods, planning ahead where items go, and making use of clear containers and baskets will make your pantry feel much larger and less cluttered.
